
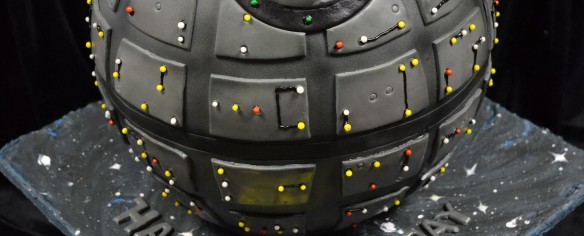
The challenge: A round cake, reminiscent of the Death Star™ from Star Wars™, with rainbow layered velvet cake.
Challenge: ACCEPTED!
At the beginning of March, Alex and his parents called us about making a Star Wars™ Death Star™ cake. We told them we wouldn’t be able to replicate Death Star™, but we would definitely be able to make something amazing for them. We designed a round cake with a center seam, sugar pearl lights, a “10” in a circle frame, and writing in a sci-fi style font.
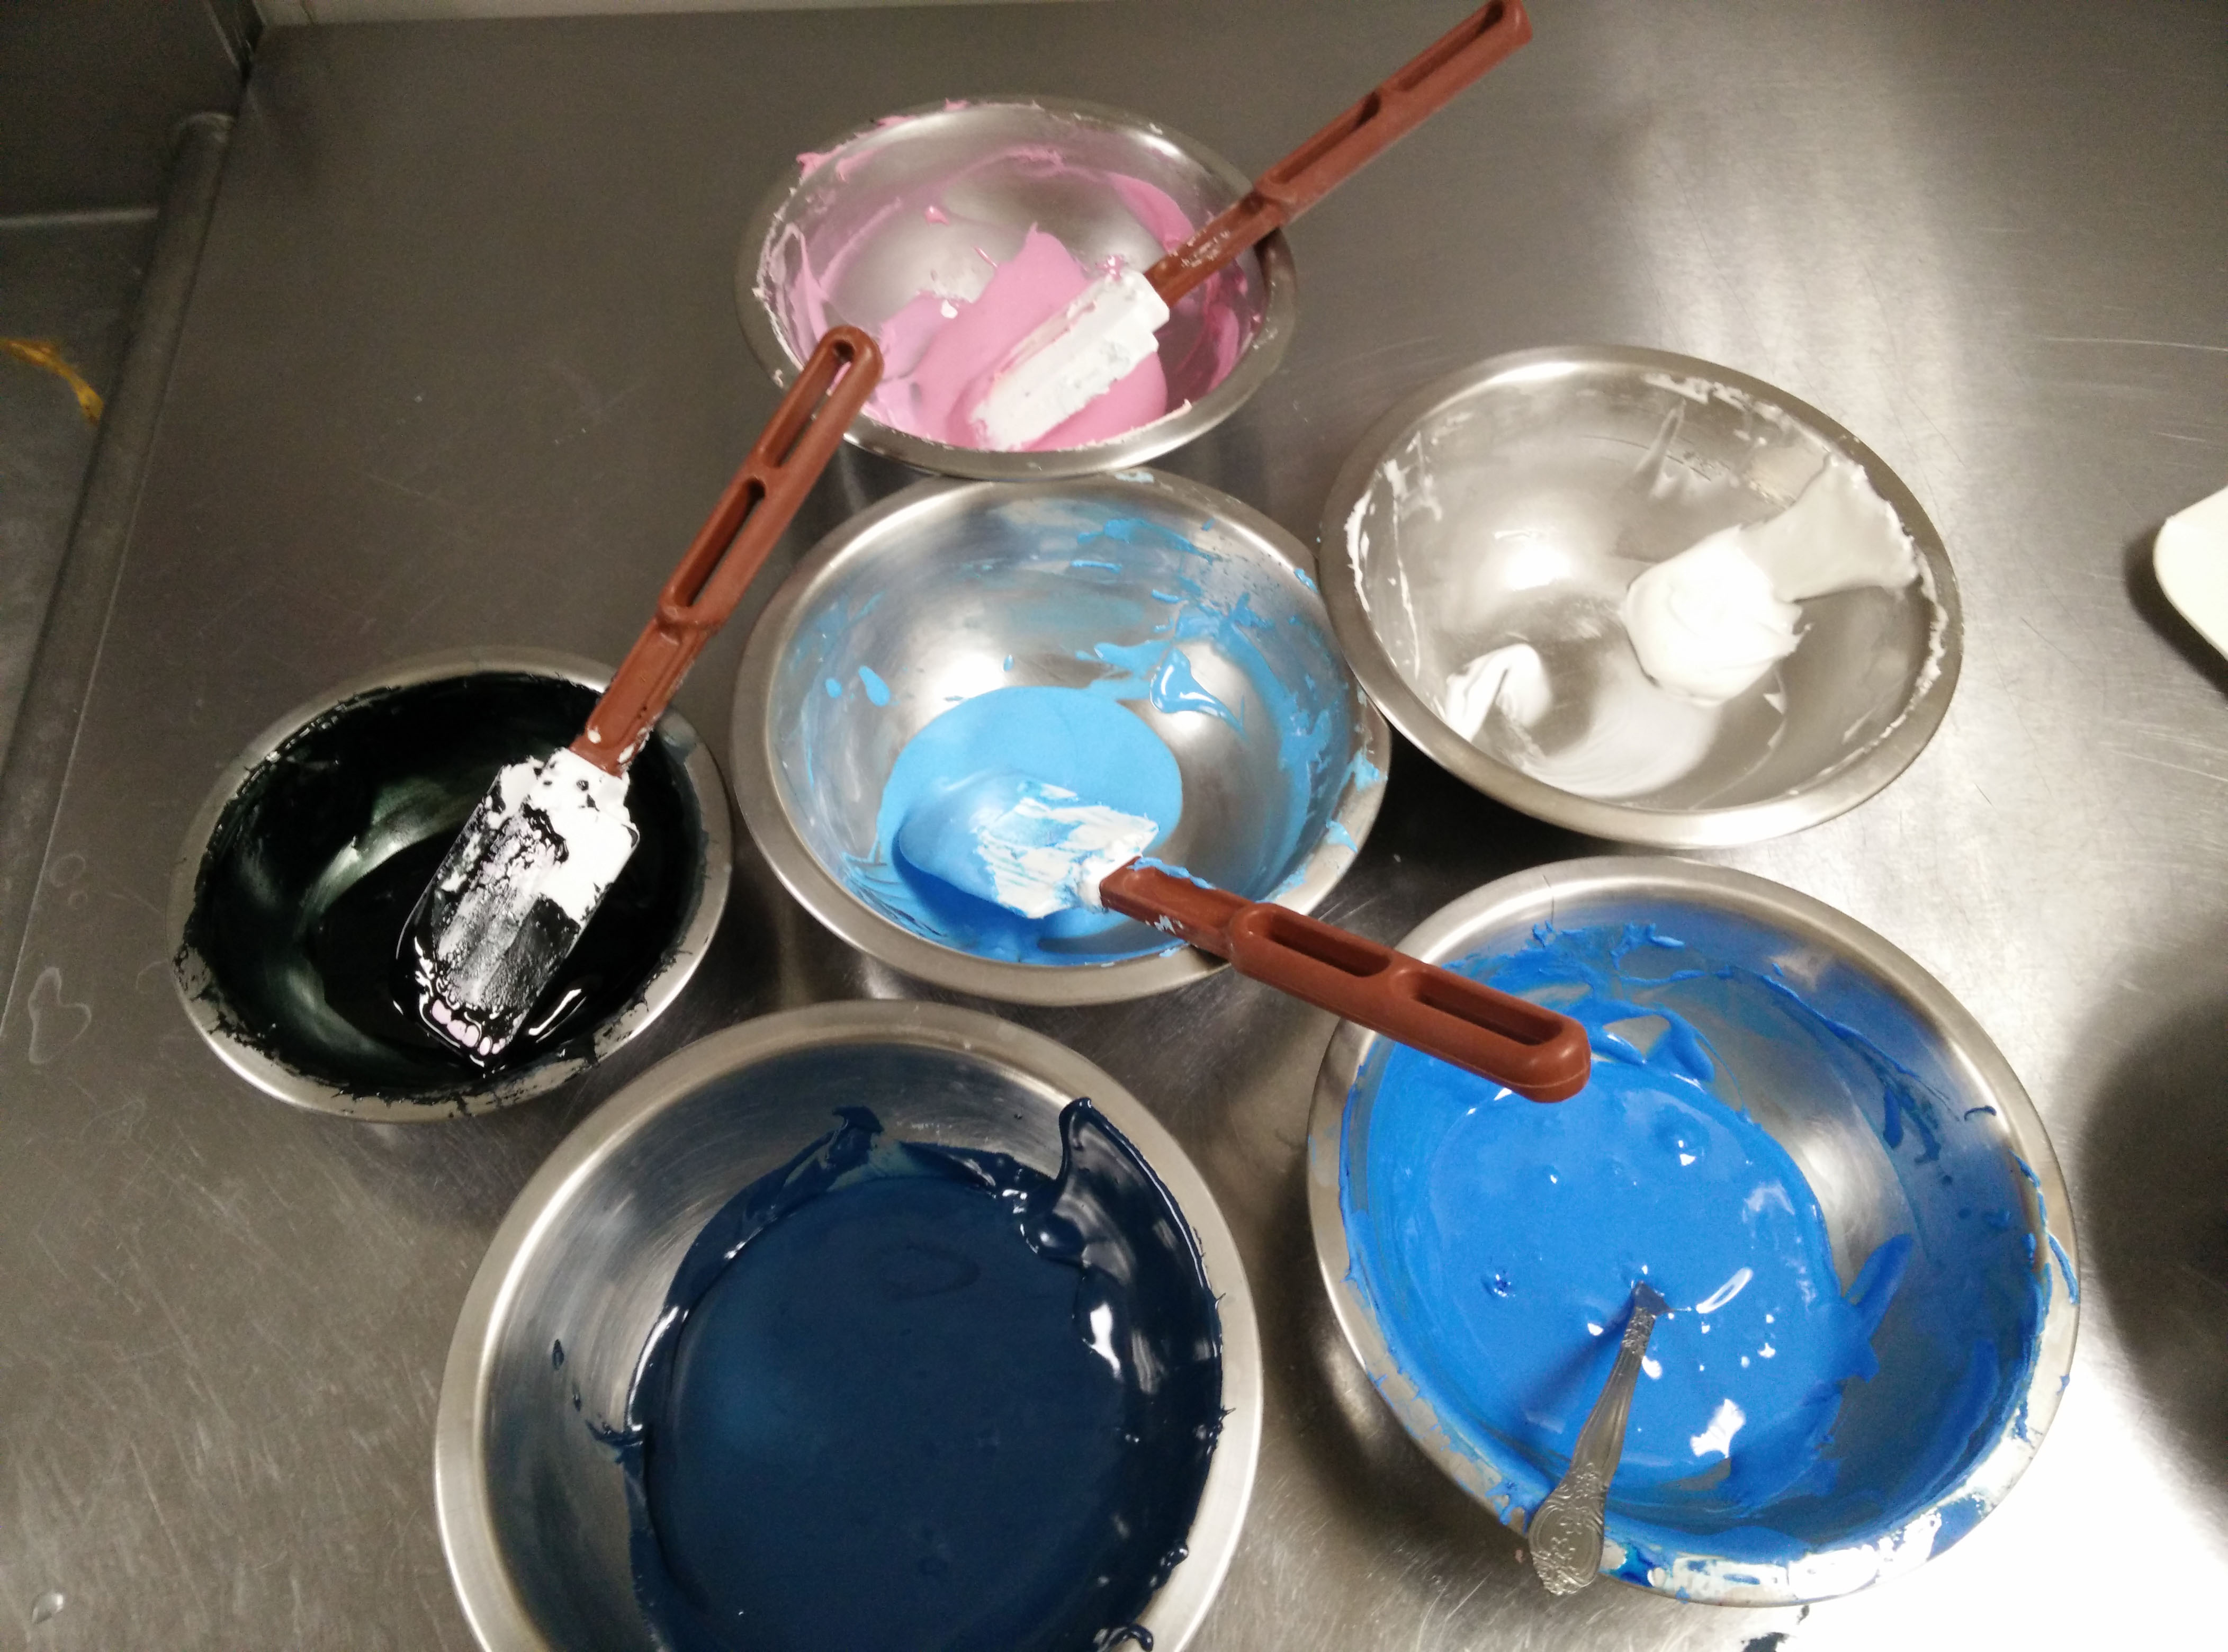
Step 1: mix the galaxy cake stand colors
Every great cake starts with a trip to the hardware store! We cut the plywood base and dowel (we don’t want a runaway cake, a la The Big Bang Theory™), then covered them in royal icing, designing the base to look like a galactic sky.
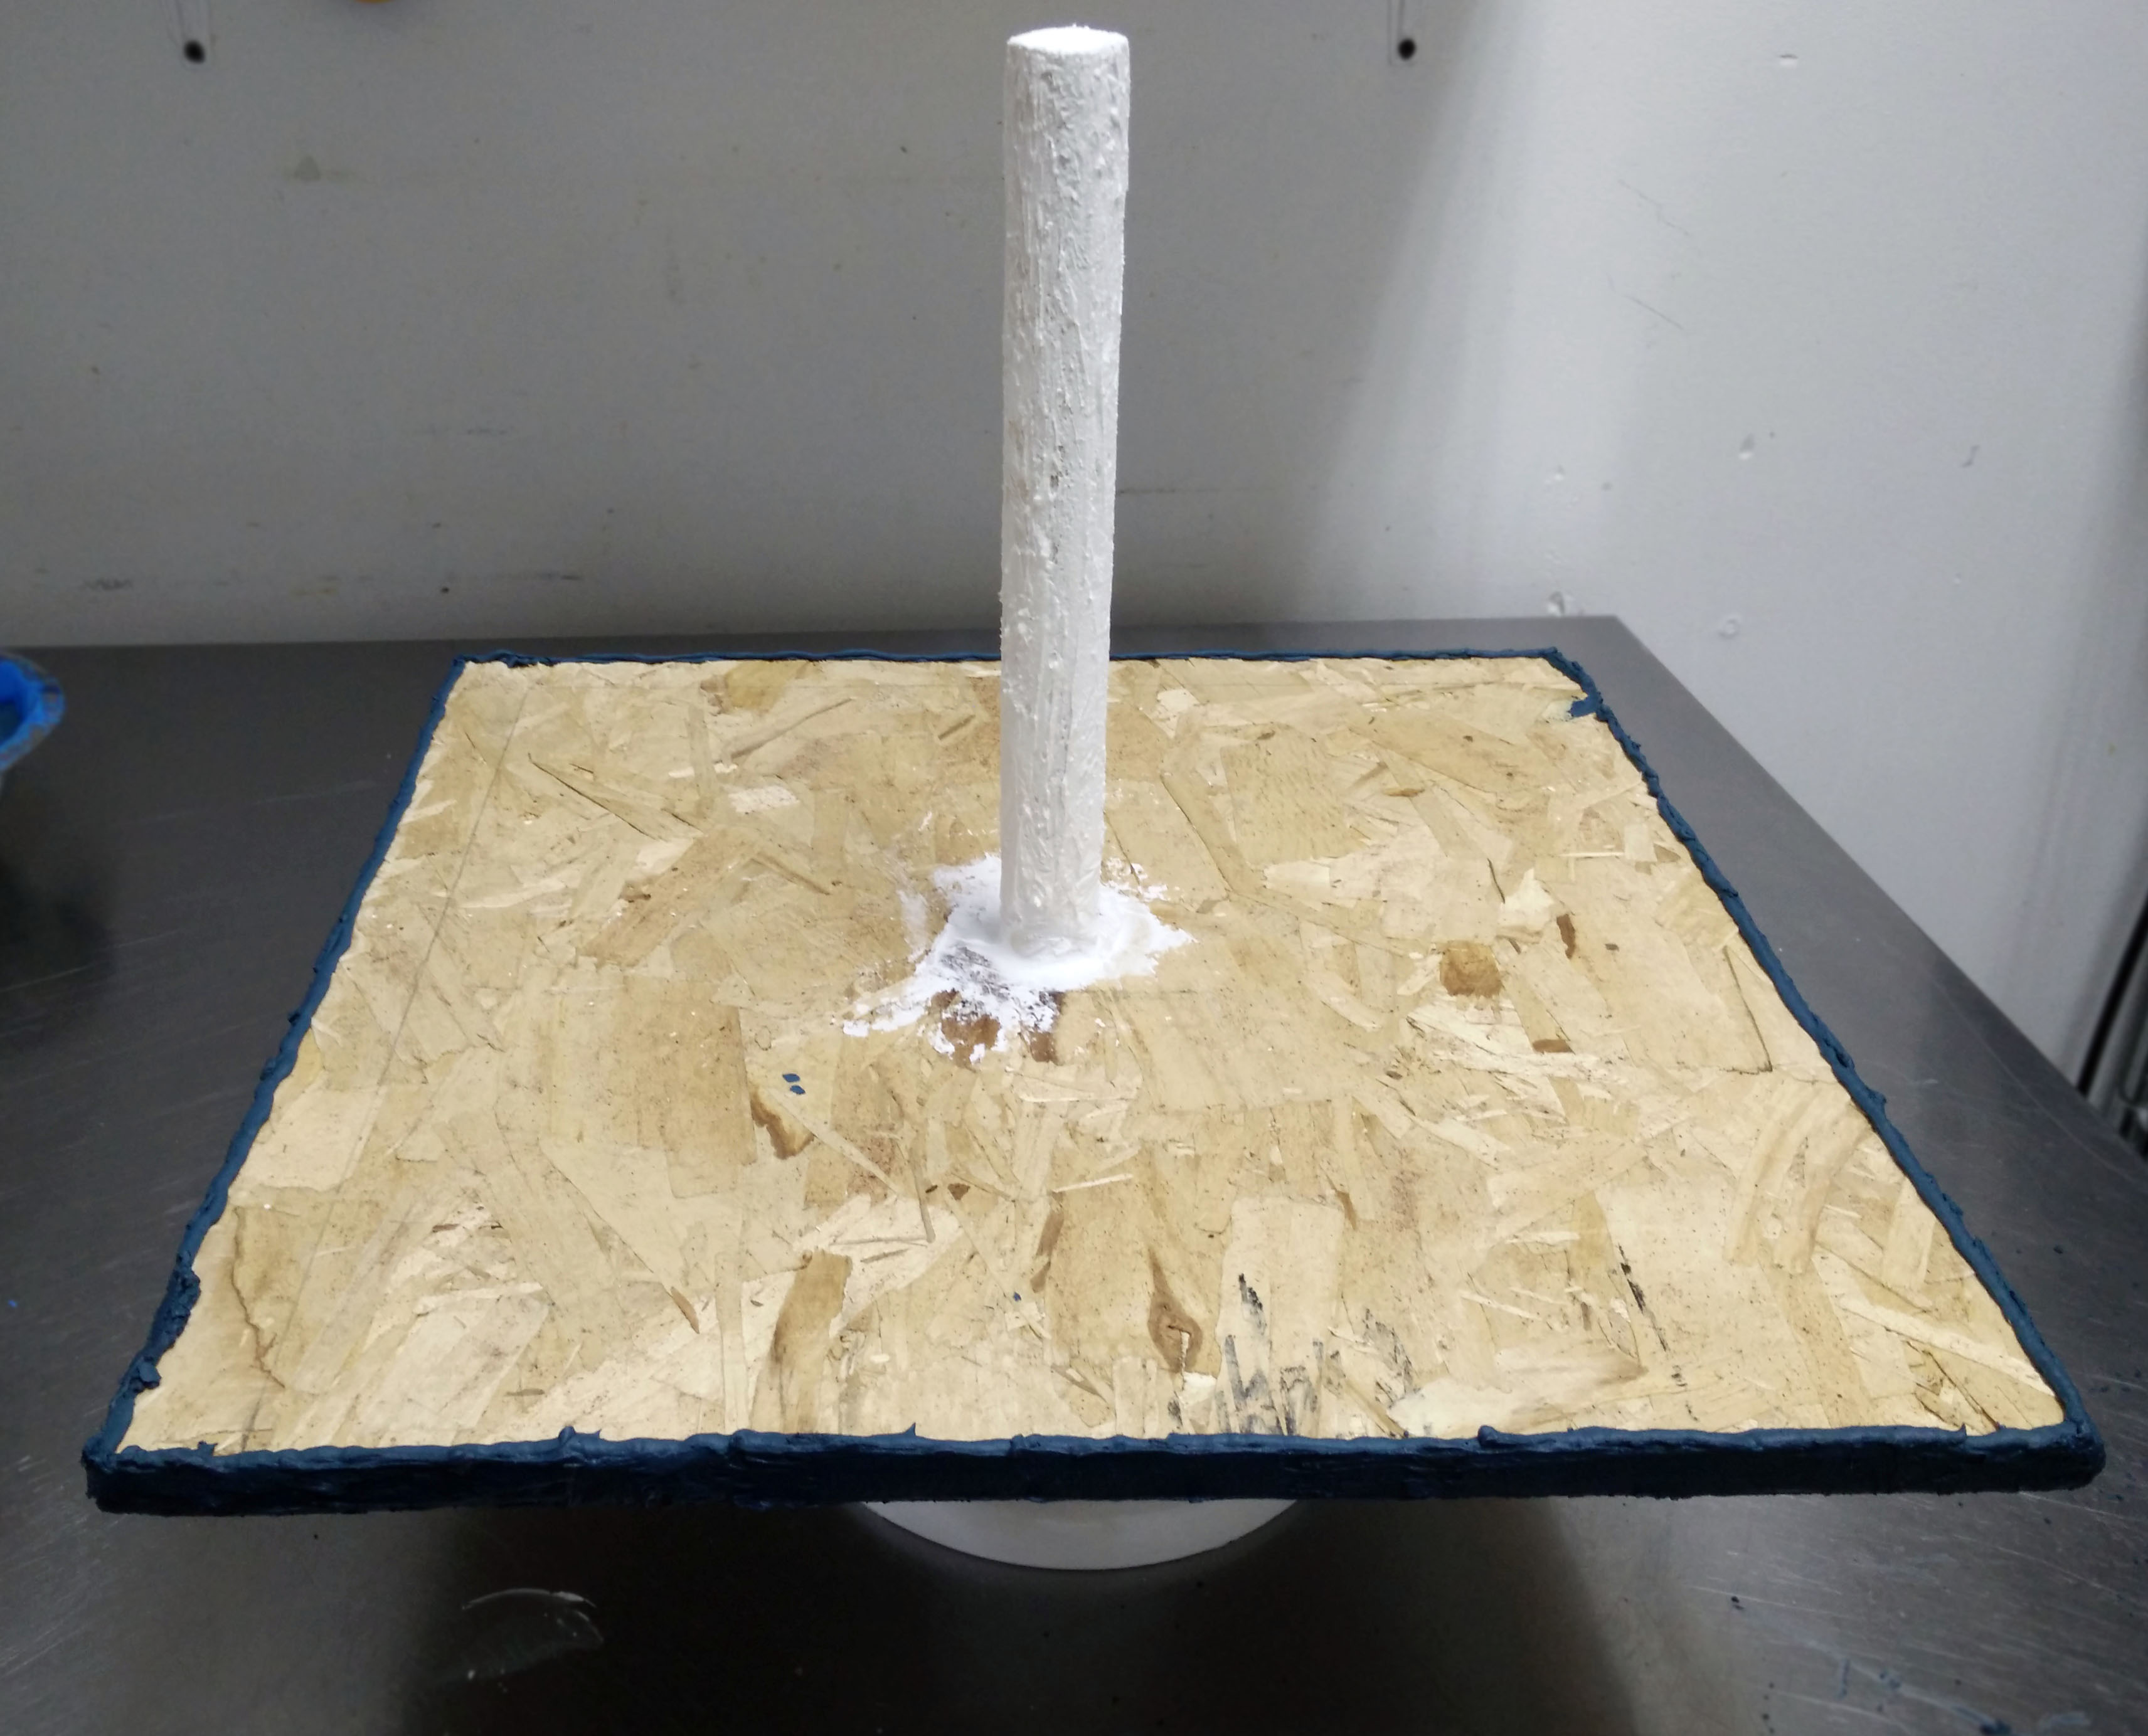
Step 2: icing the outer edge and support dowel
We started the decorating process by mixing the various colors we would be using: black, navy blue, medium blue, light blue, pink, and white. After that, we iced the outer edge in the navy blue and sealed the support dowel with white. The next step was to swirl the black and navy blue and spread it around the base (darn-it we forgot to take pictures of this!). Doing a swirl instead of applying the colors separately provides a nice depth to the finished product.

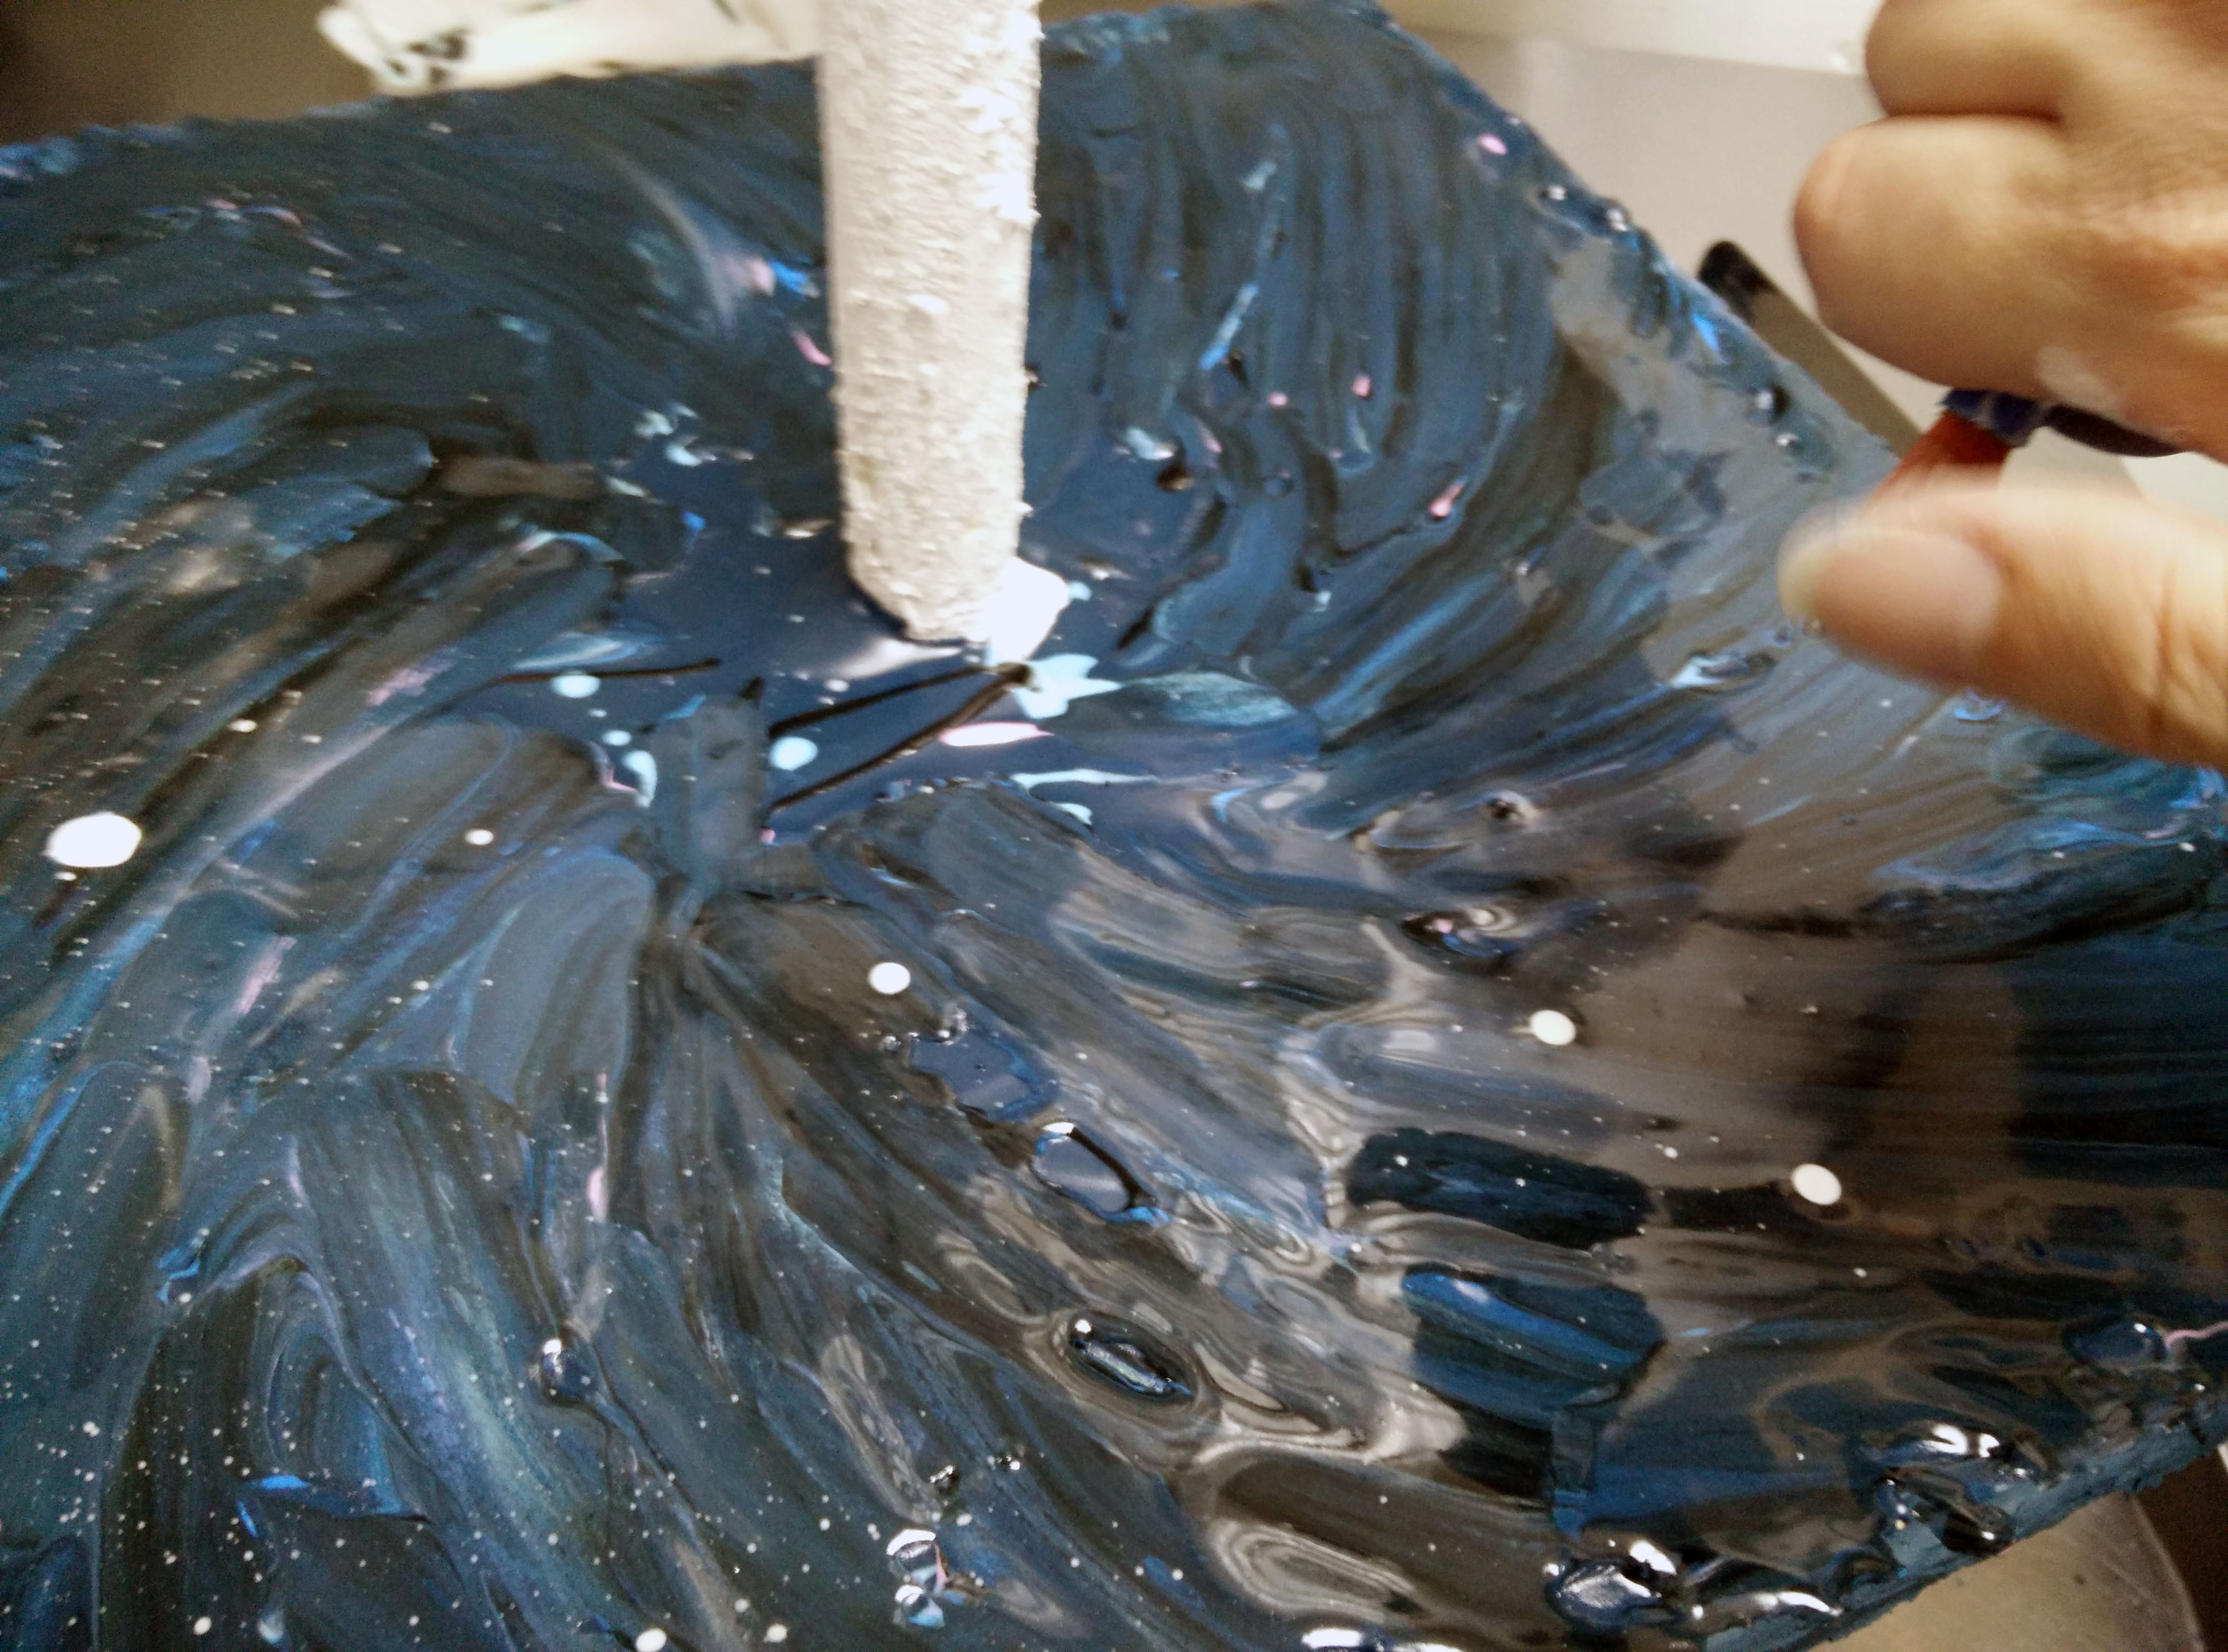
Step 5: carefully spread icing in a spiral pattern
After this, we made what can only be described as paint splats and splashes across the base in all of the other colors except white (nope, we didn’t remember this picture either). Then, using the angled spatula, starting at the support dowel and working to the edge, we made a spiral pattern, careful not to mix the colors, but instead to give depth and dimension.
Step 6: splatter white icing across cake stand
After this, we made the white a bit runny and, using a stiff-bristled brush, splattered paint across the entire board. We turned the bigger white splotches into planets and stars. We then let the stand dry for 48 hours.
The finished stand is a stunning piece!
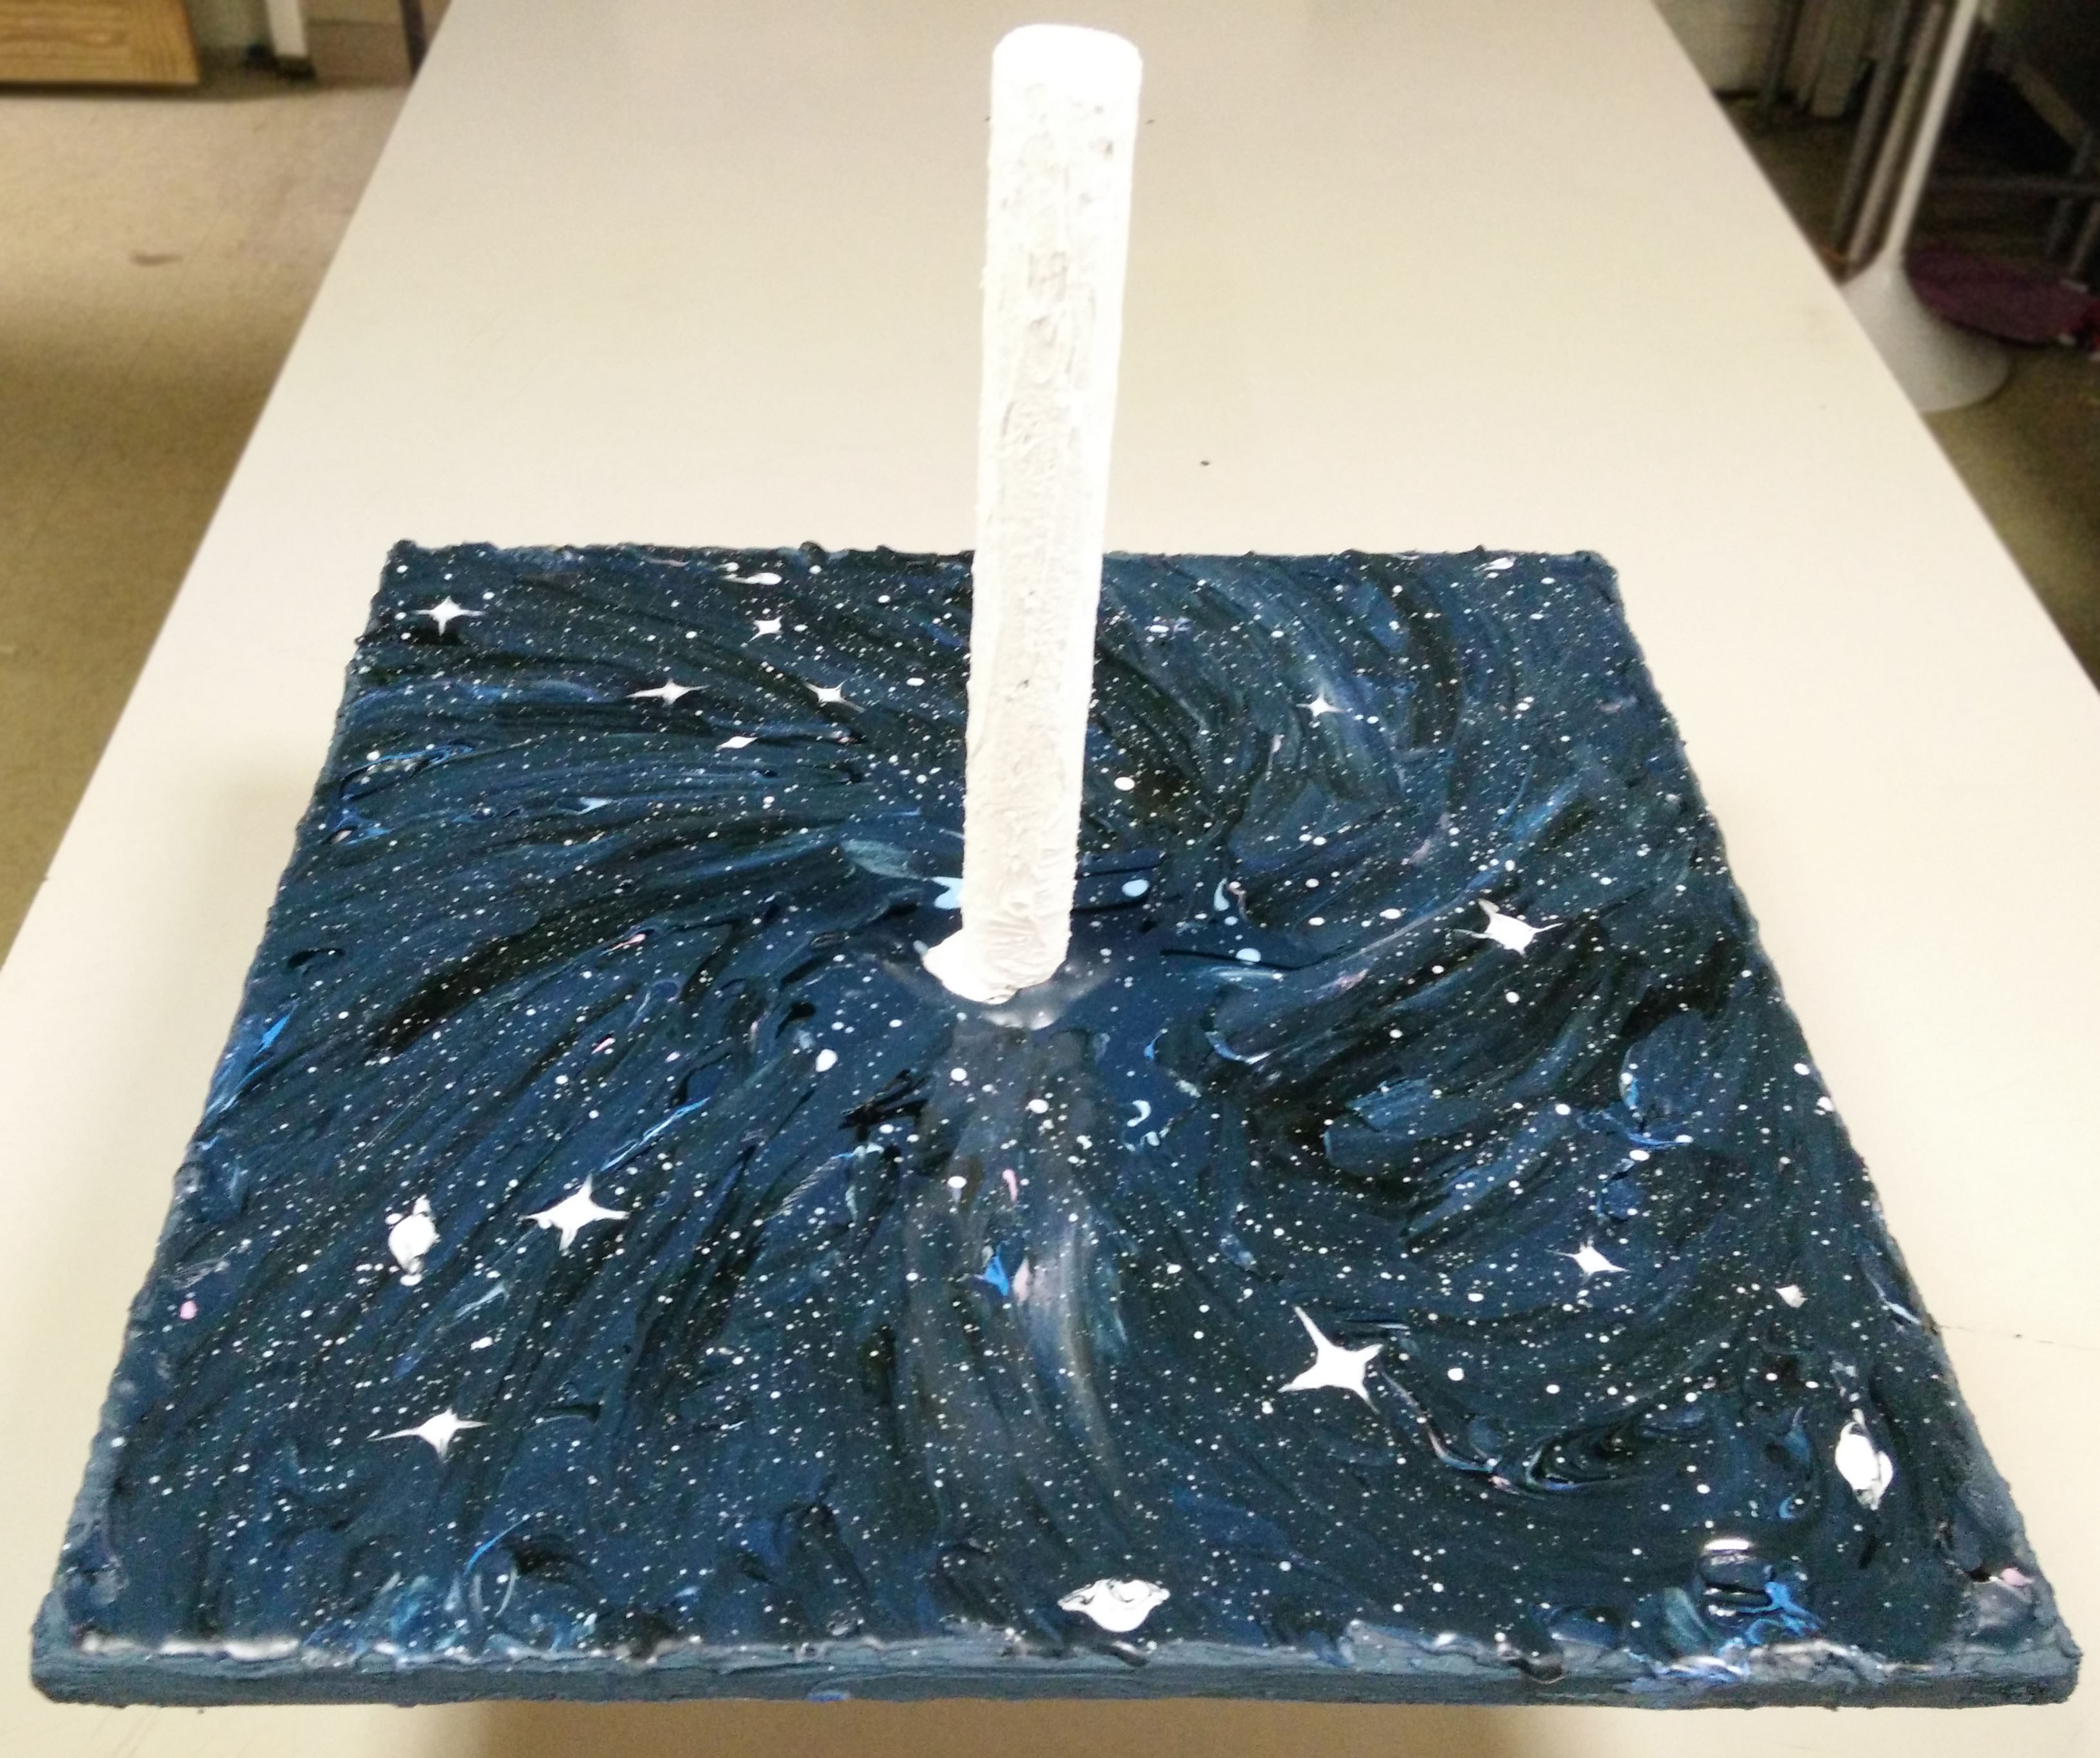
Galaxy cake stand
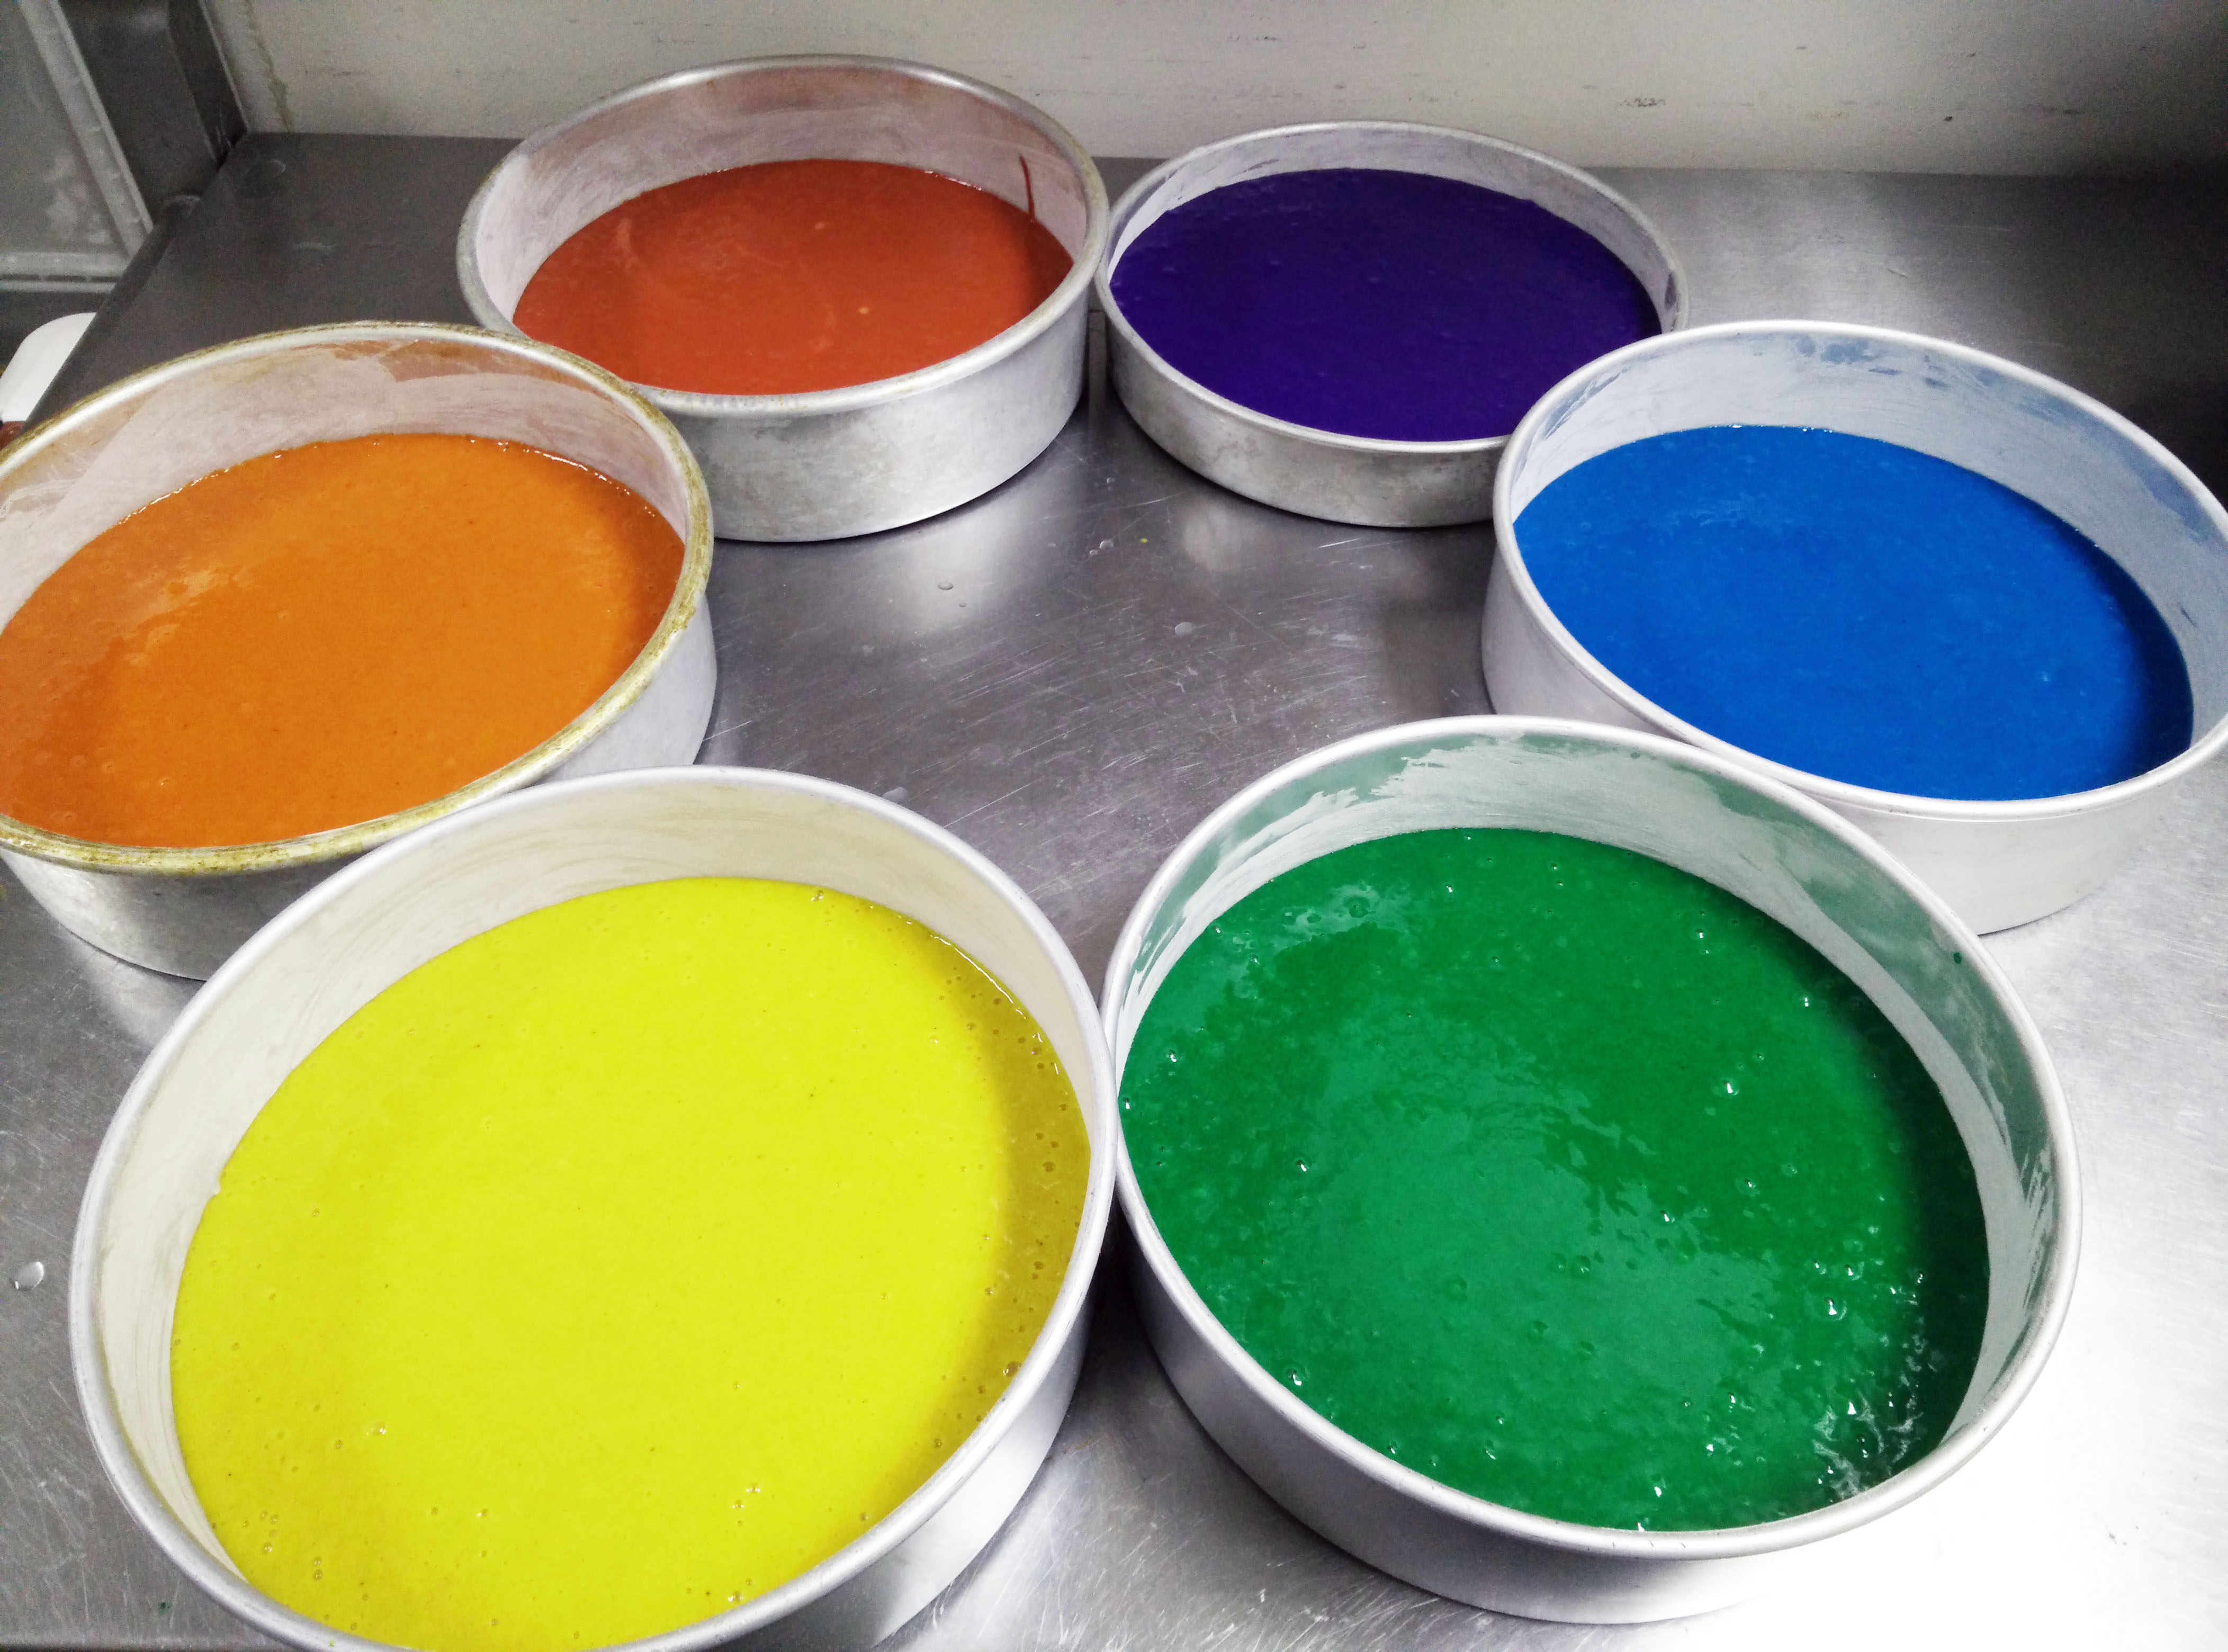
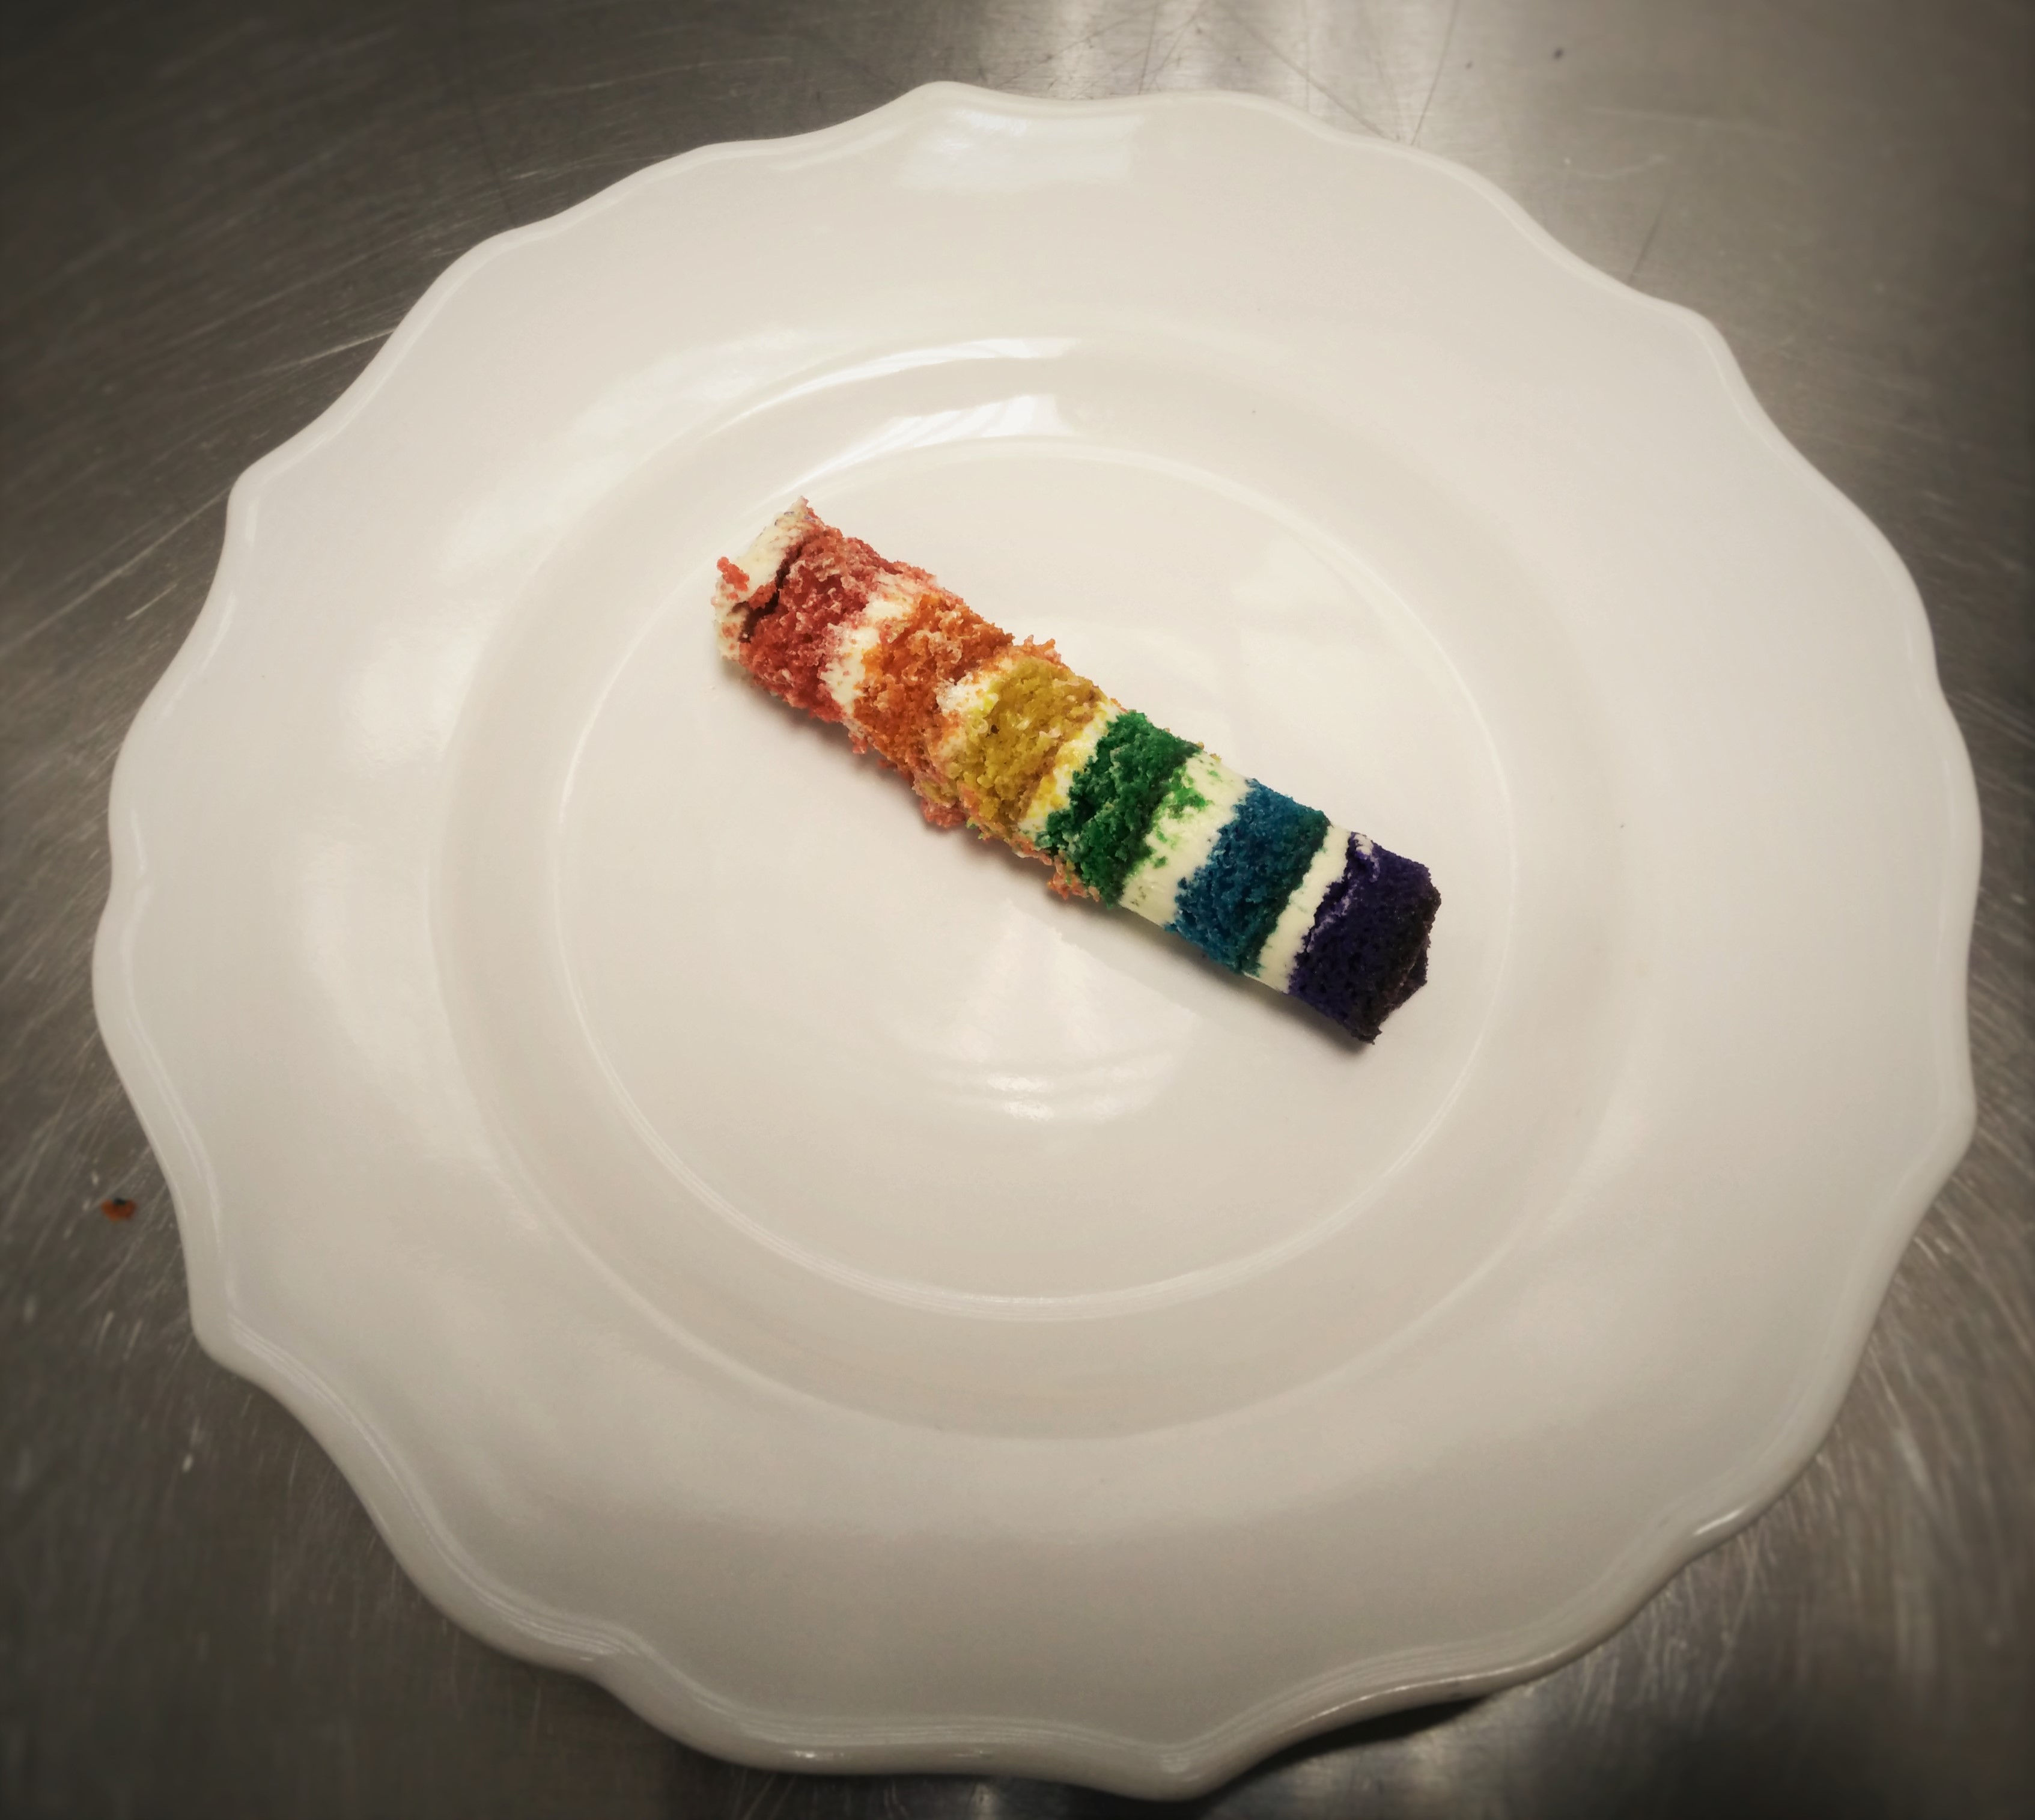
The next step of the Globular Galactic Super Weapon Cake was the Rainbow velvet! So! Much! Fun!!! We had to core the tiers to get them on the support dowel, so we got a great shot of the layers!
The cake carving begins!
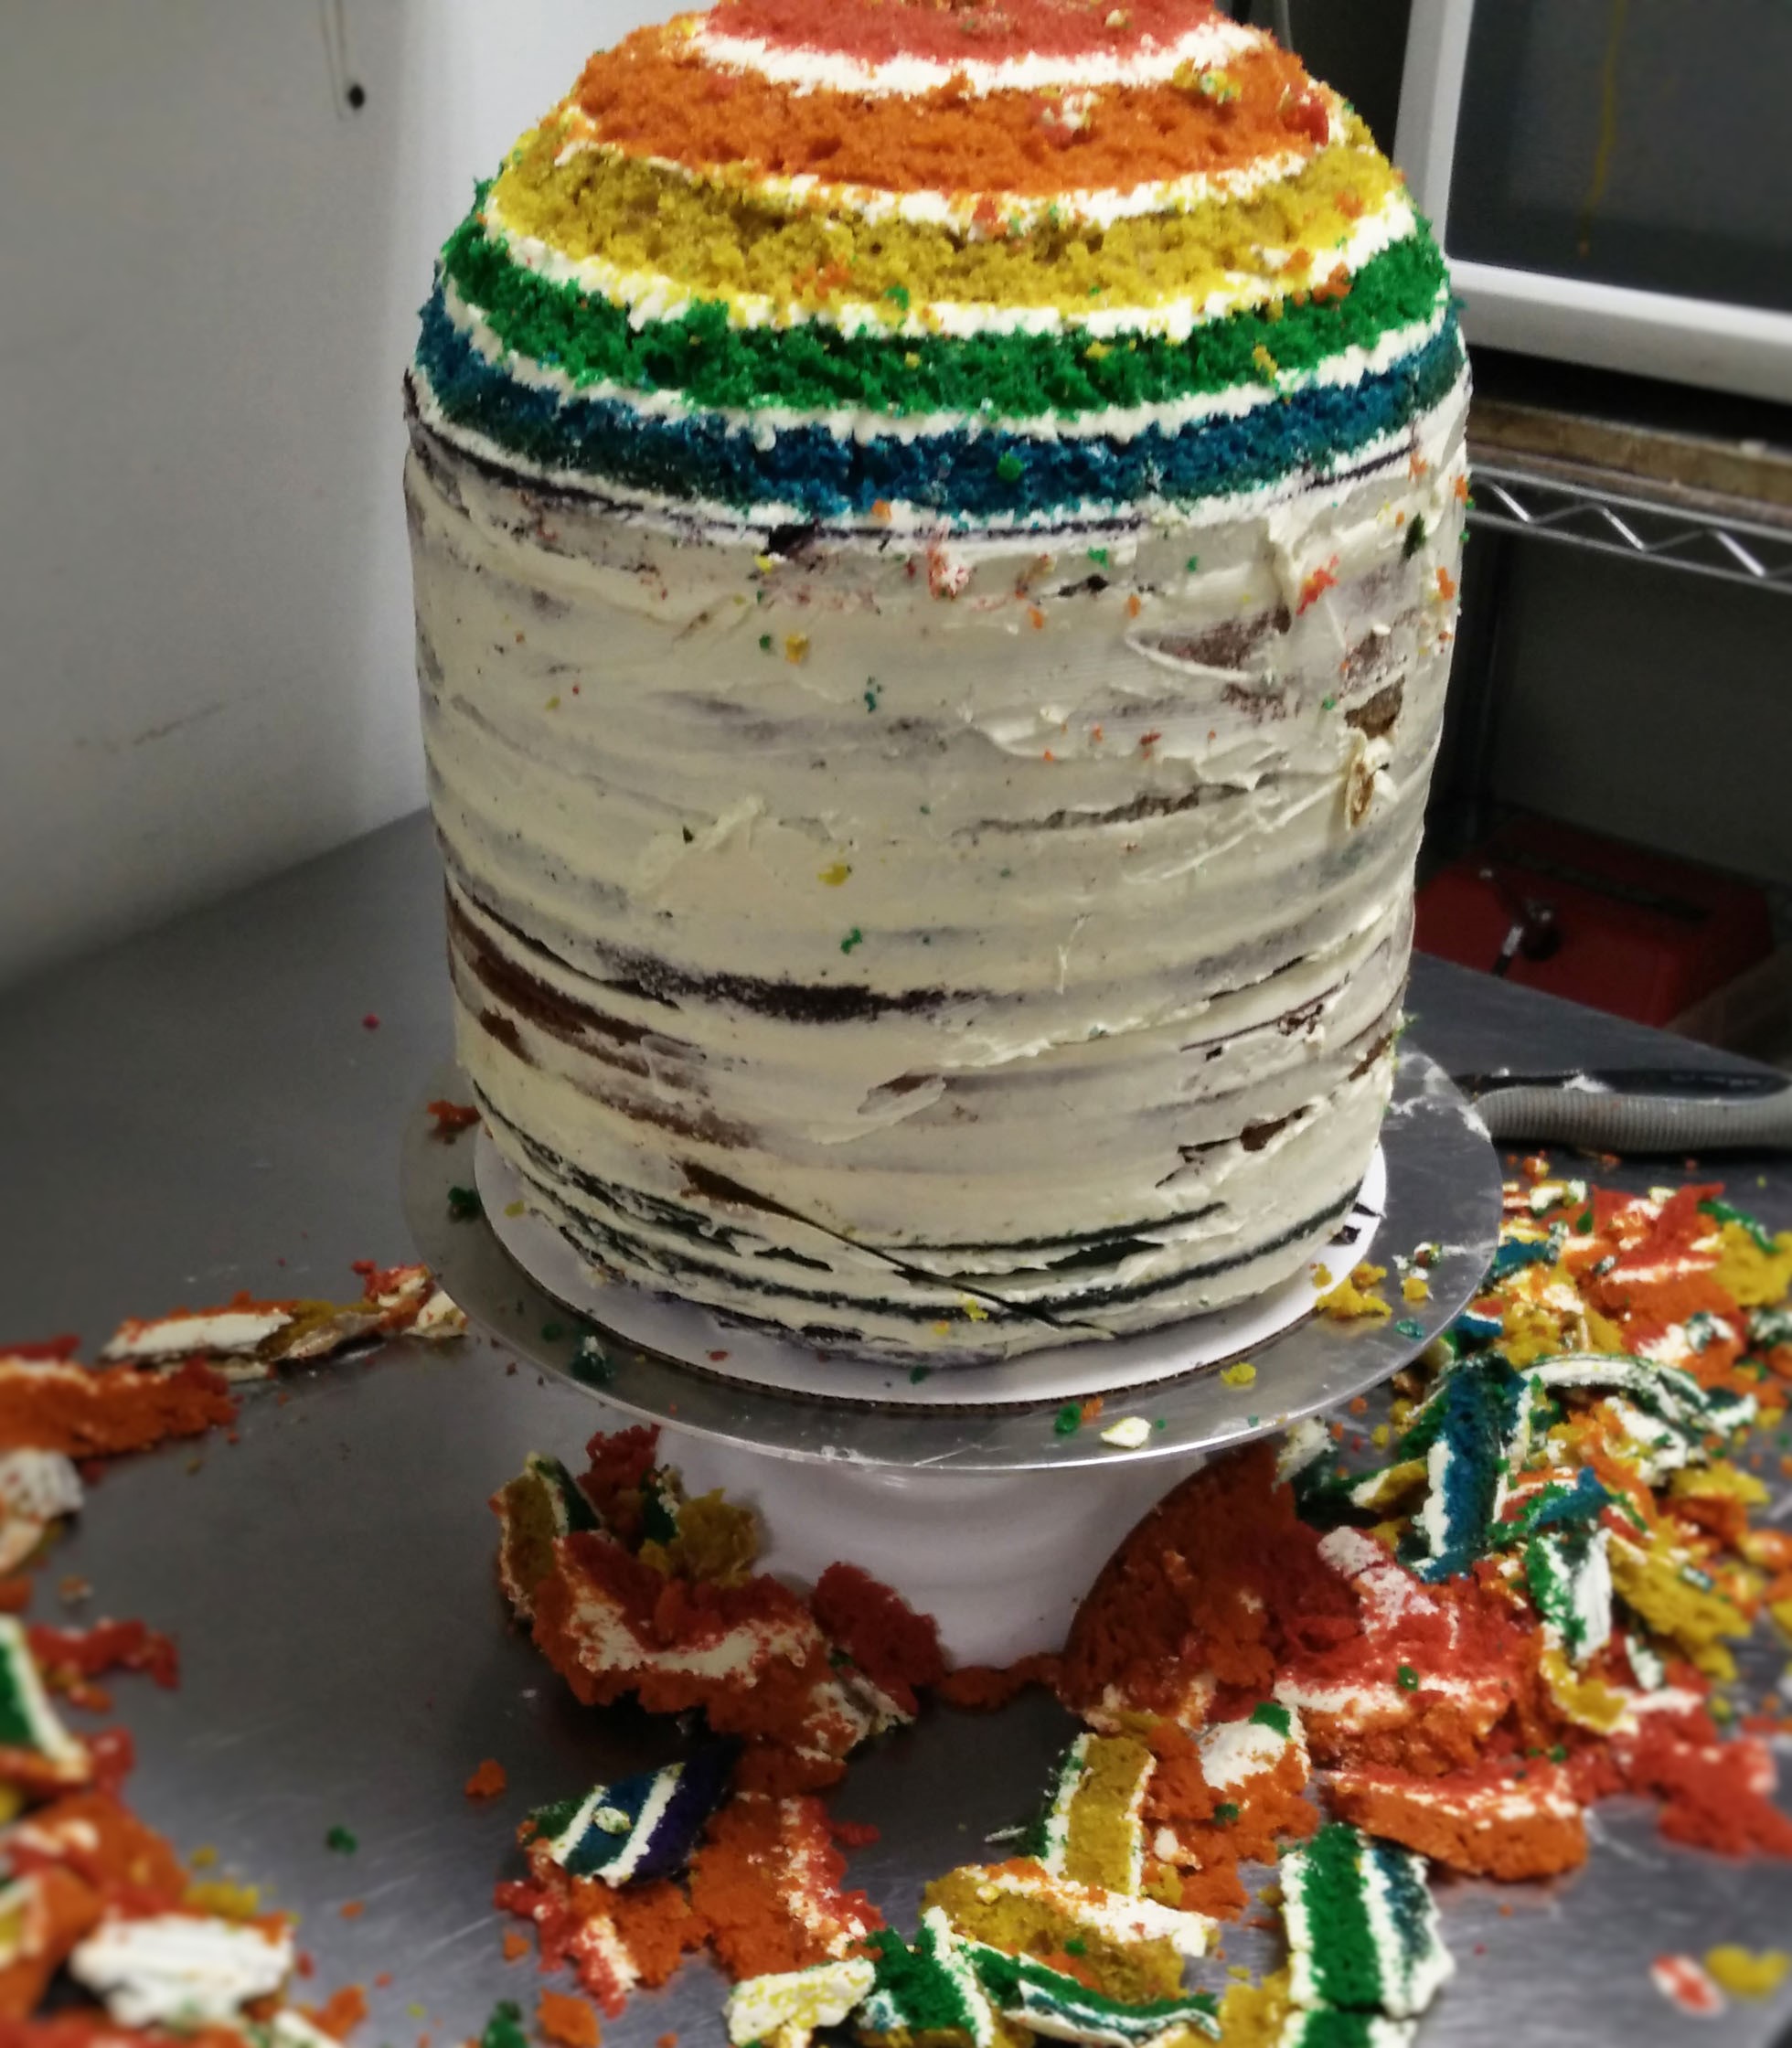
The cake had 3 tiers. If anyone ever tells you math isn’t required for cake decorating, take it from me, they have no idea what they are talking about! After figuring out exactly how tall to cut each layer, and how tall each tier would need to be, we layered and began to carve. We did put parchment down over the galaxy cake stand to protect the work. The rainbow disaster all over the counter was fodder for some serious unicorn jokes!
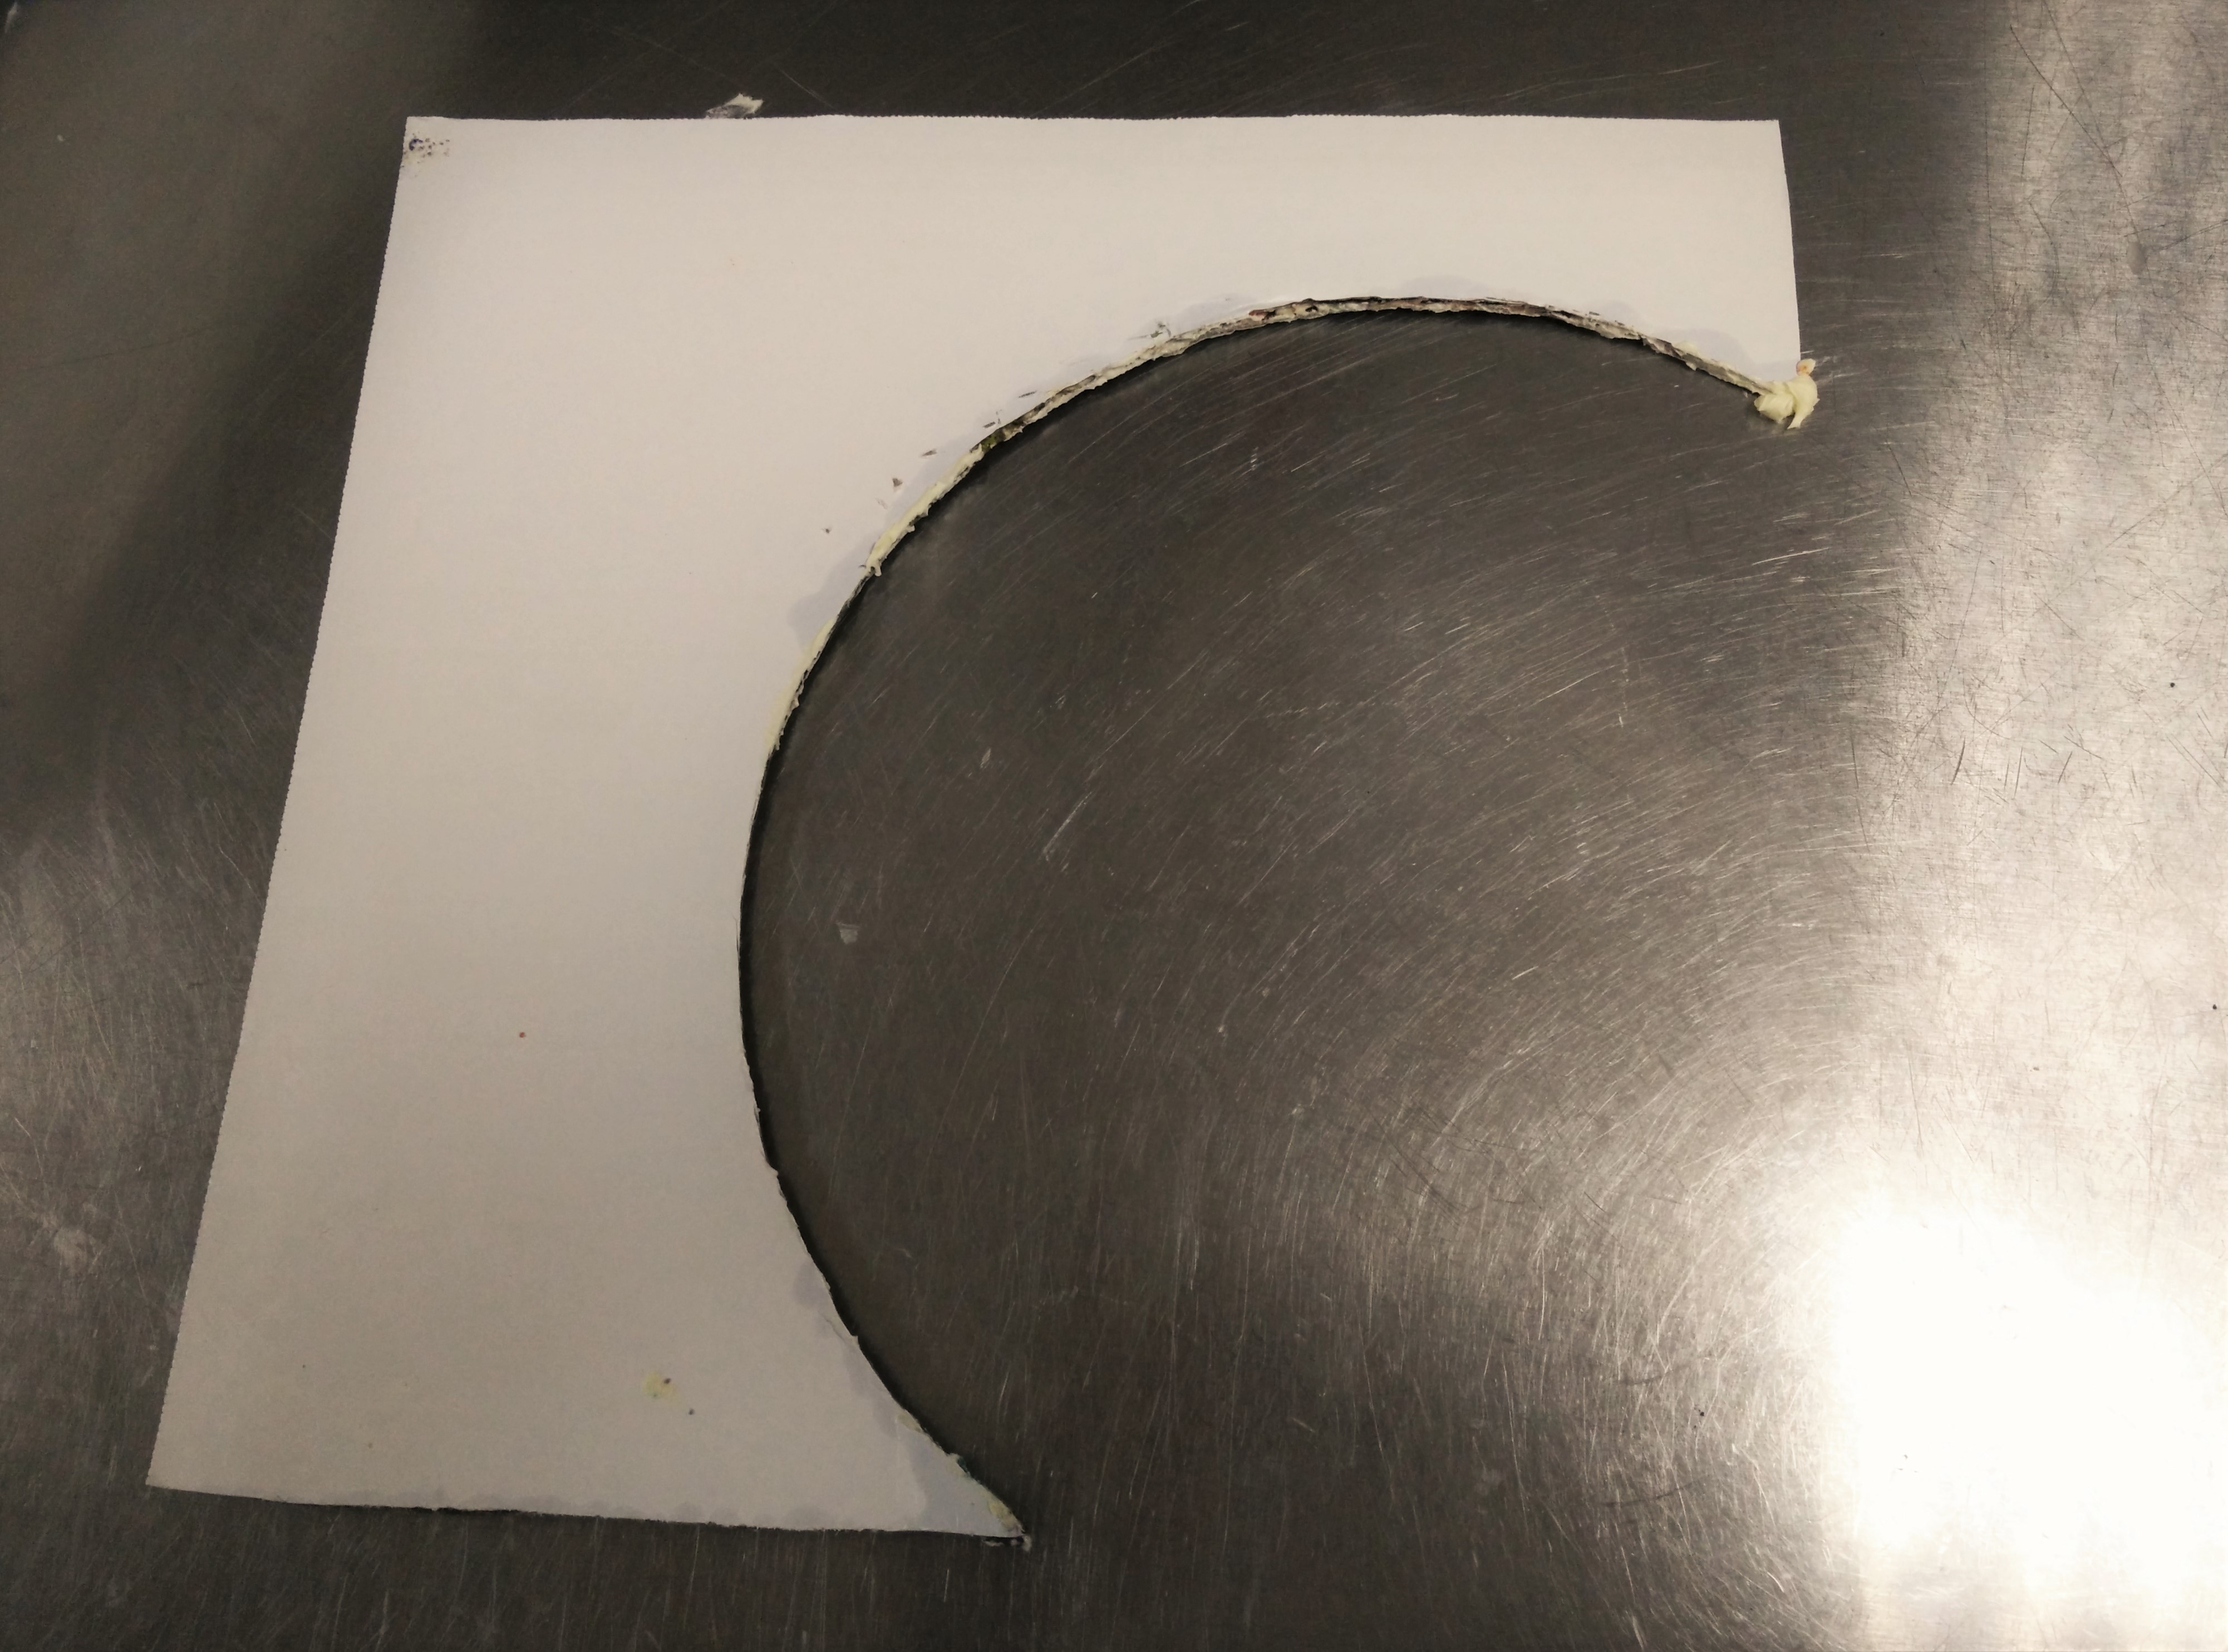
Cardboard circle template
We were asked several times how we got the cake so round. So, I’ll share with you the trick we use. We wanted a 12″ circle, so using a 1/2 sheet cake board (food-safe cardboard) and a 12″ round cake board, we cut out a slightly more than 1/2 circle. You DO want more than a 1/2 circle, so it goes over the top. If you don’t have that, you can end up with an oblong globular shape.
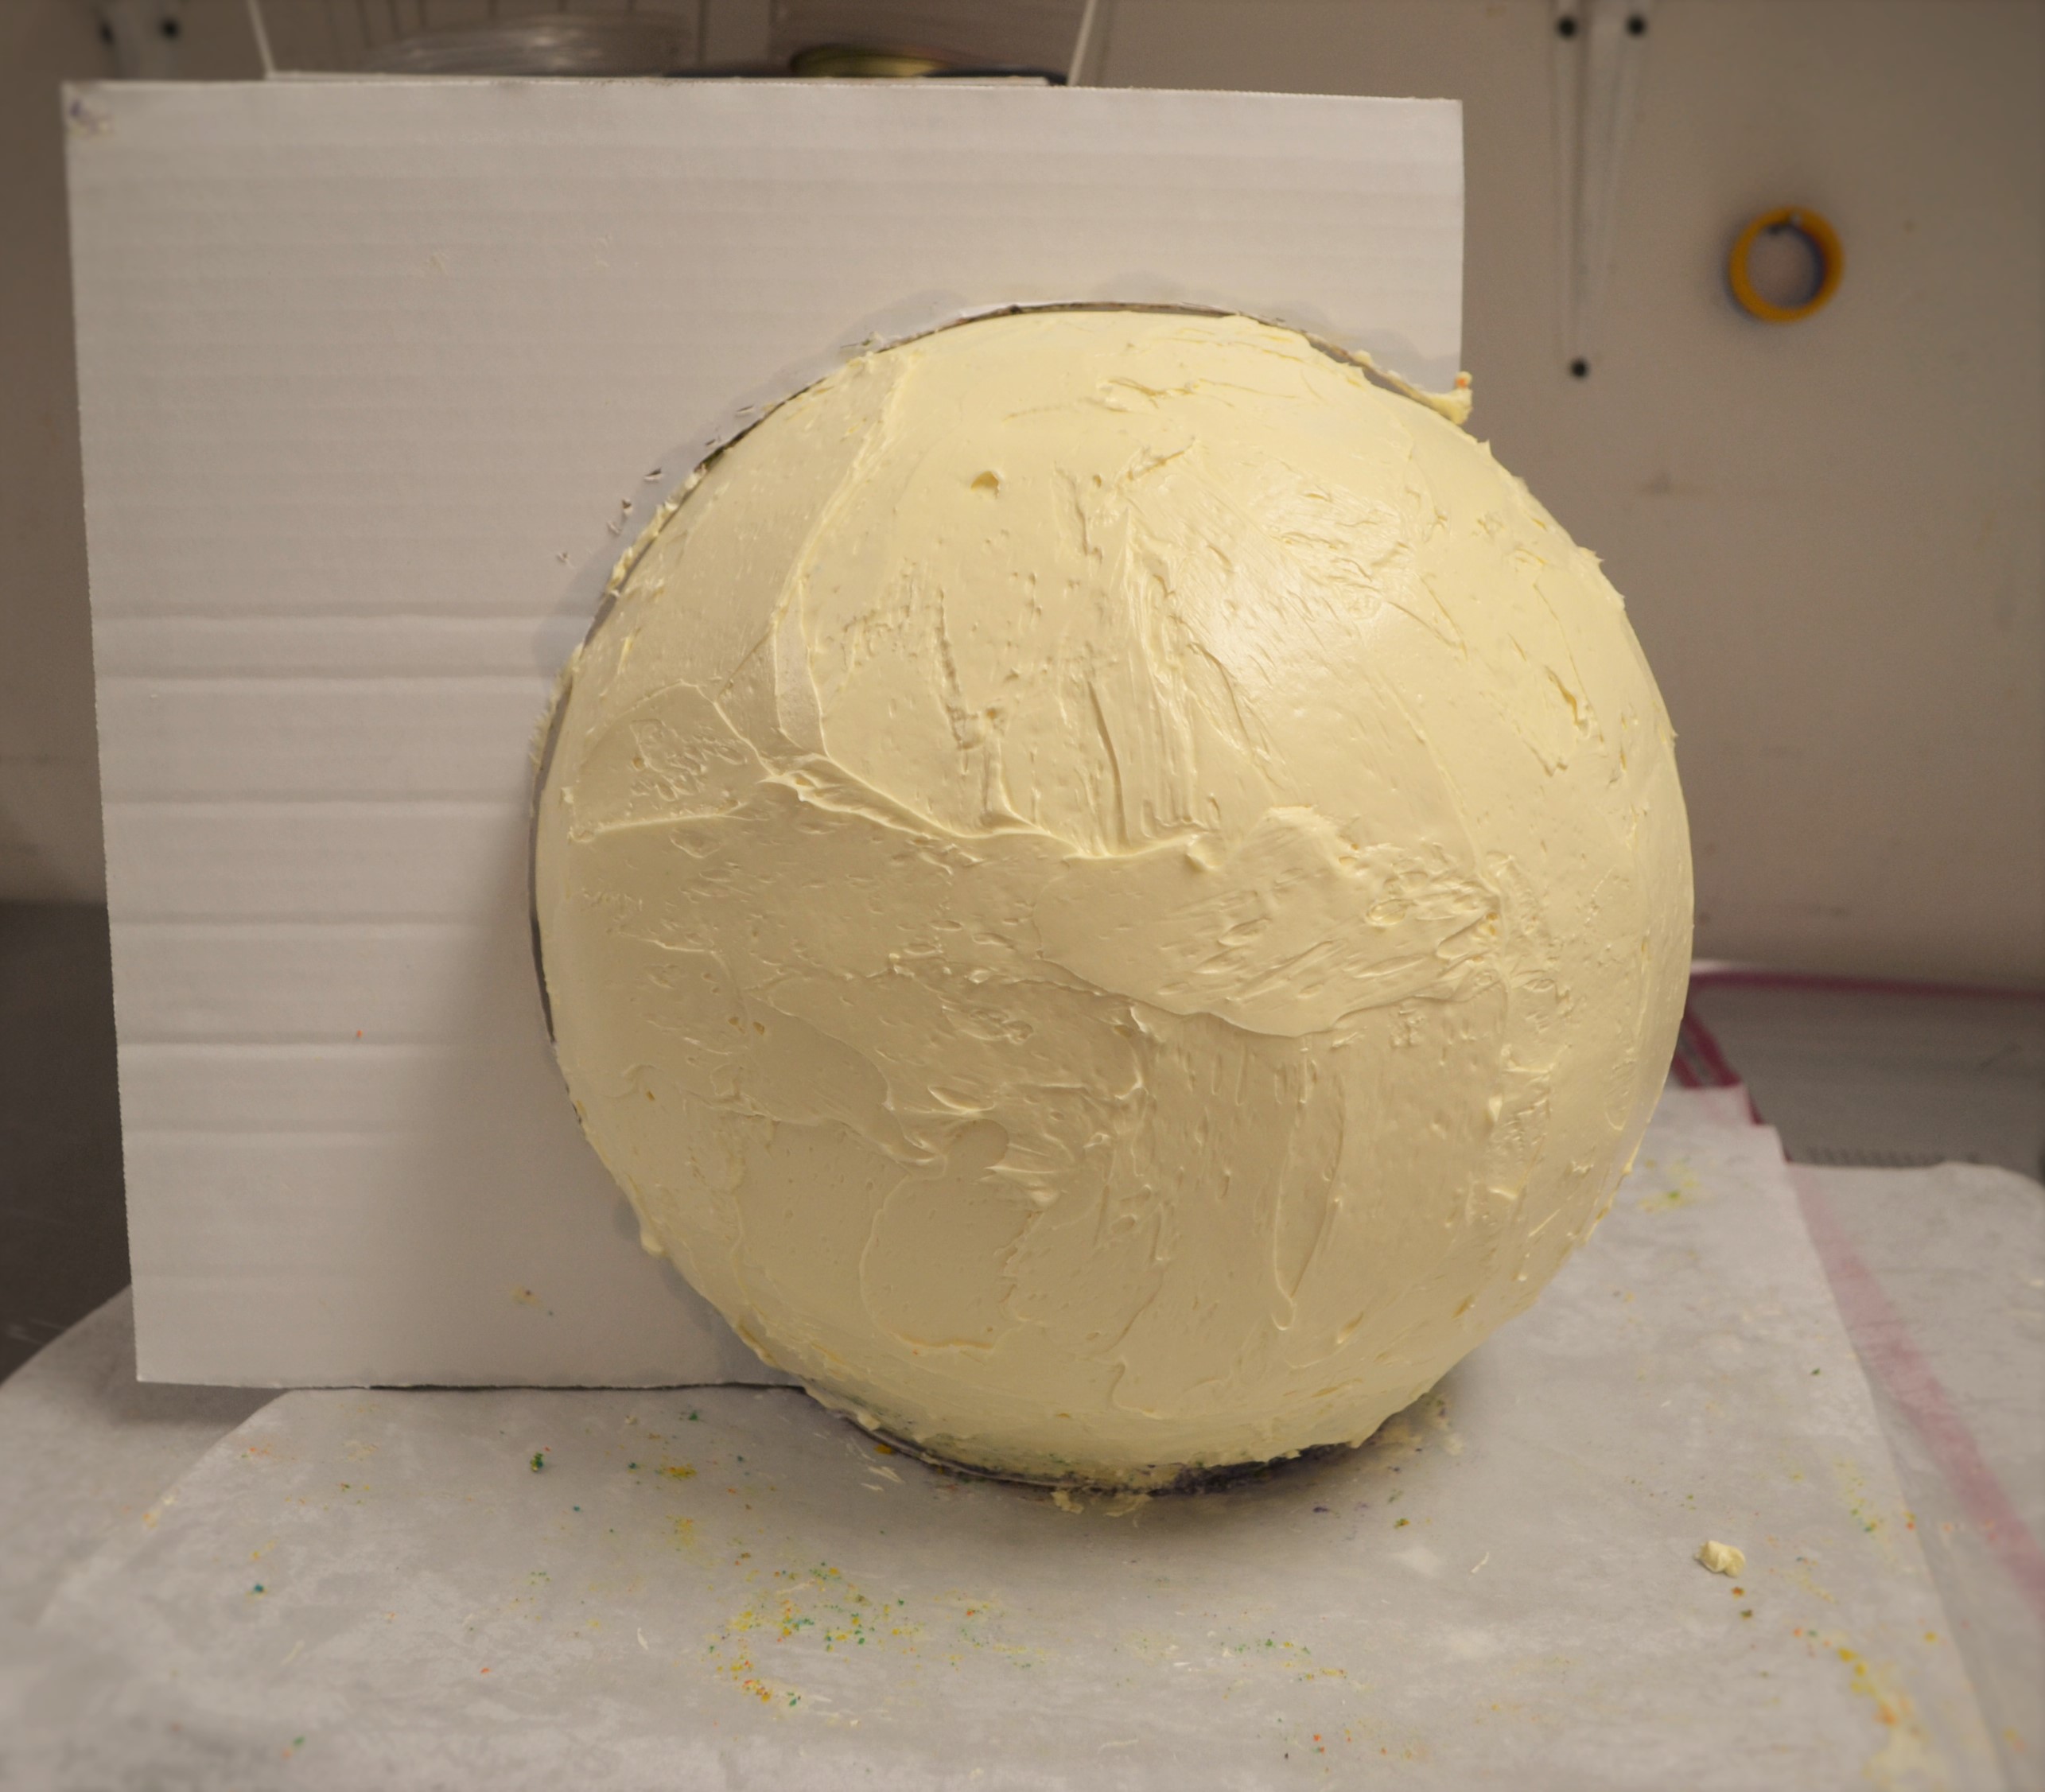
Globular cake with cardboard template
Using the cardboard template we iced the cake with our Signature French buttercream, adding frosting and taking it away according to the template.
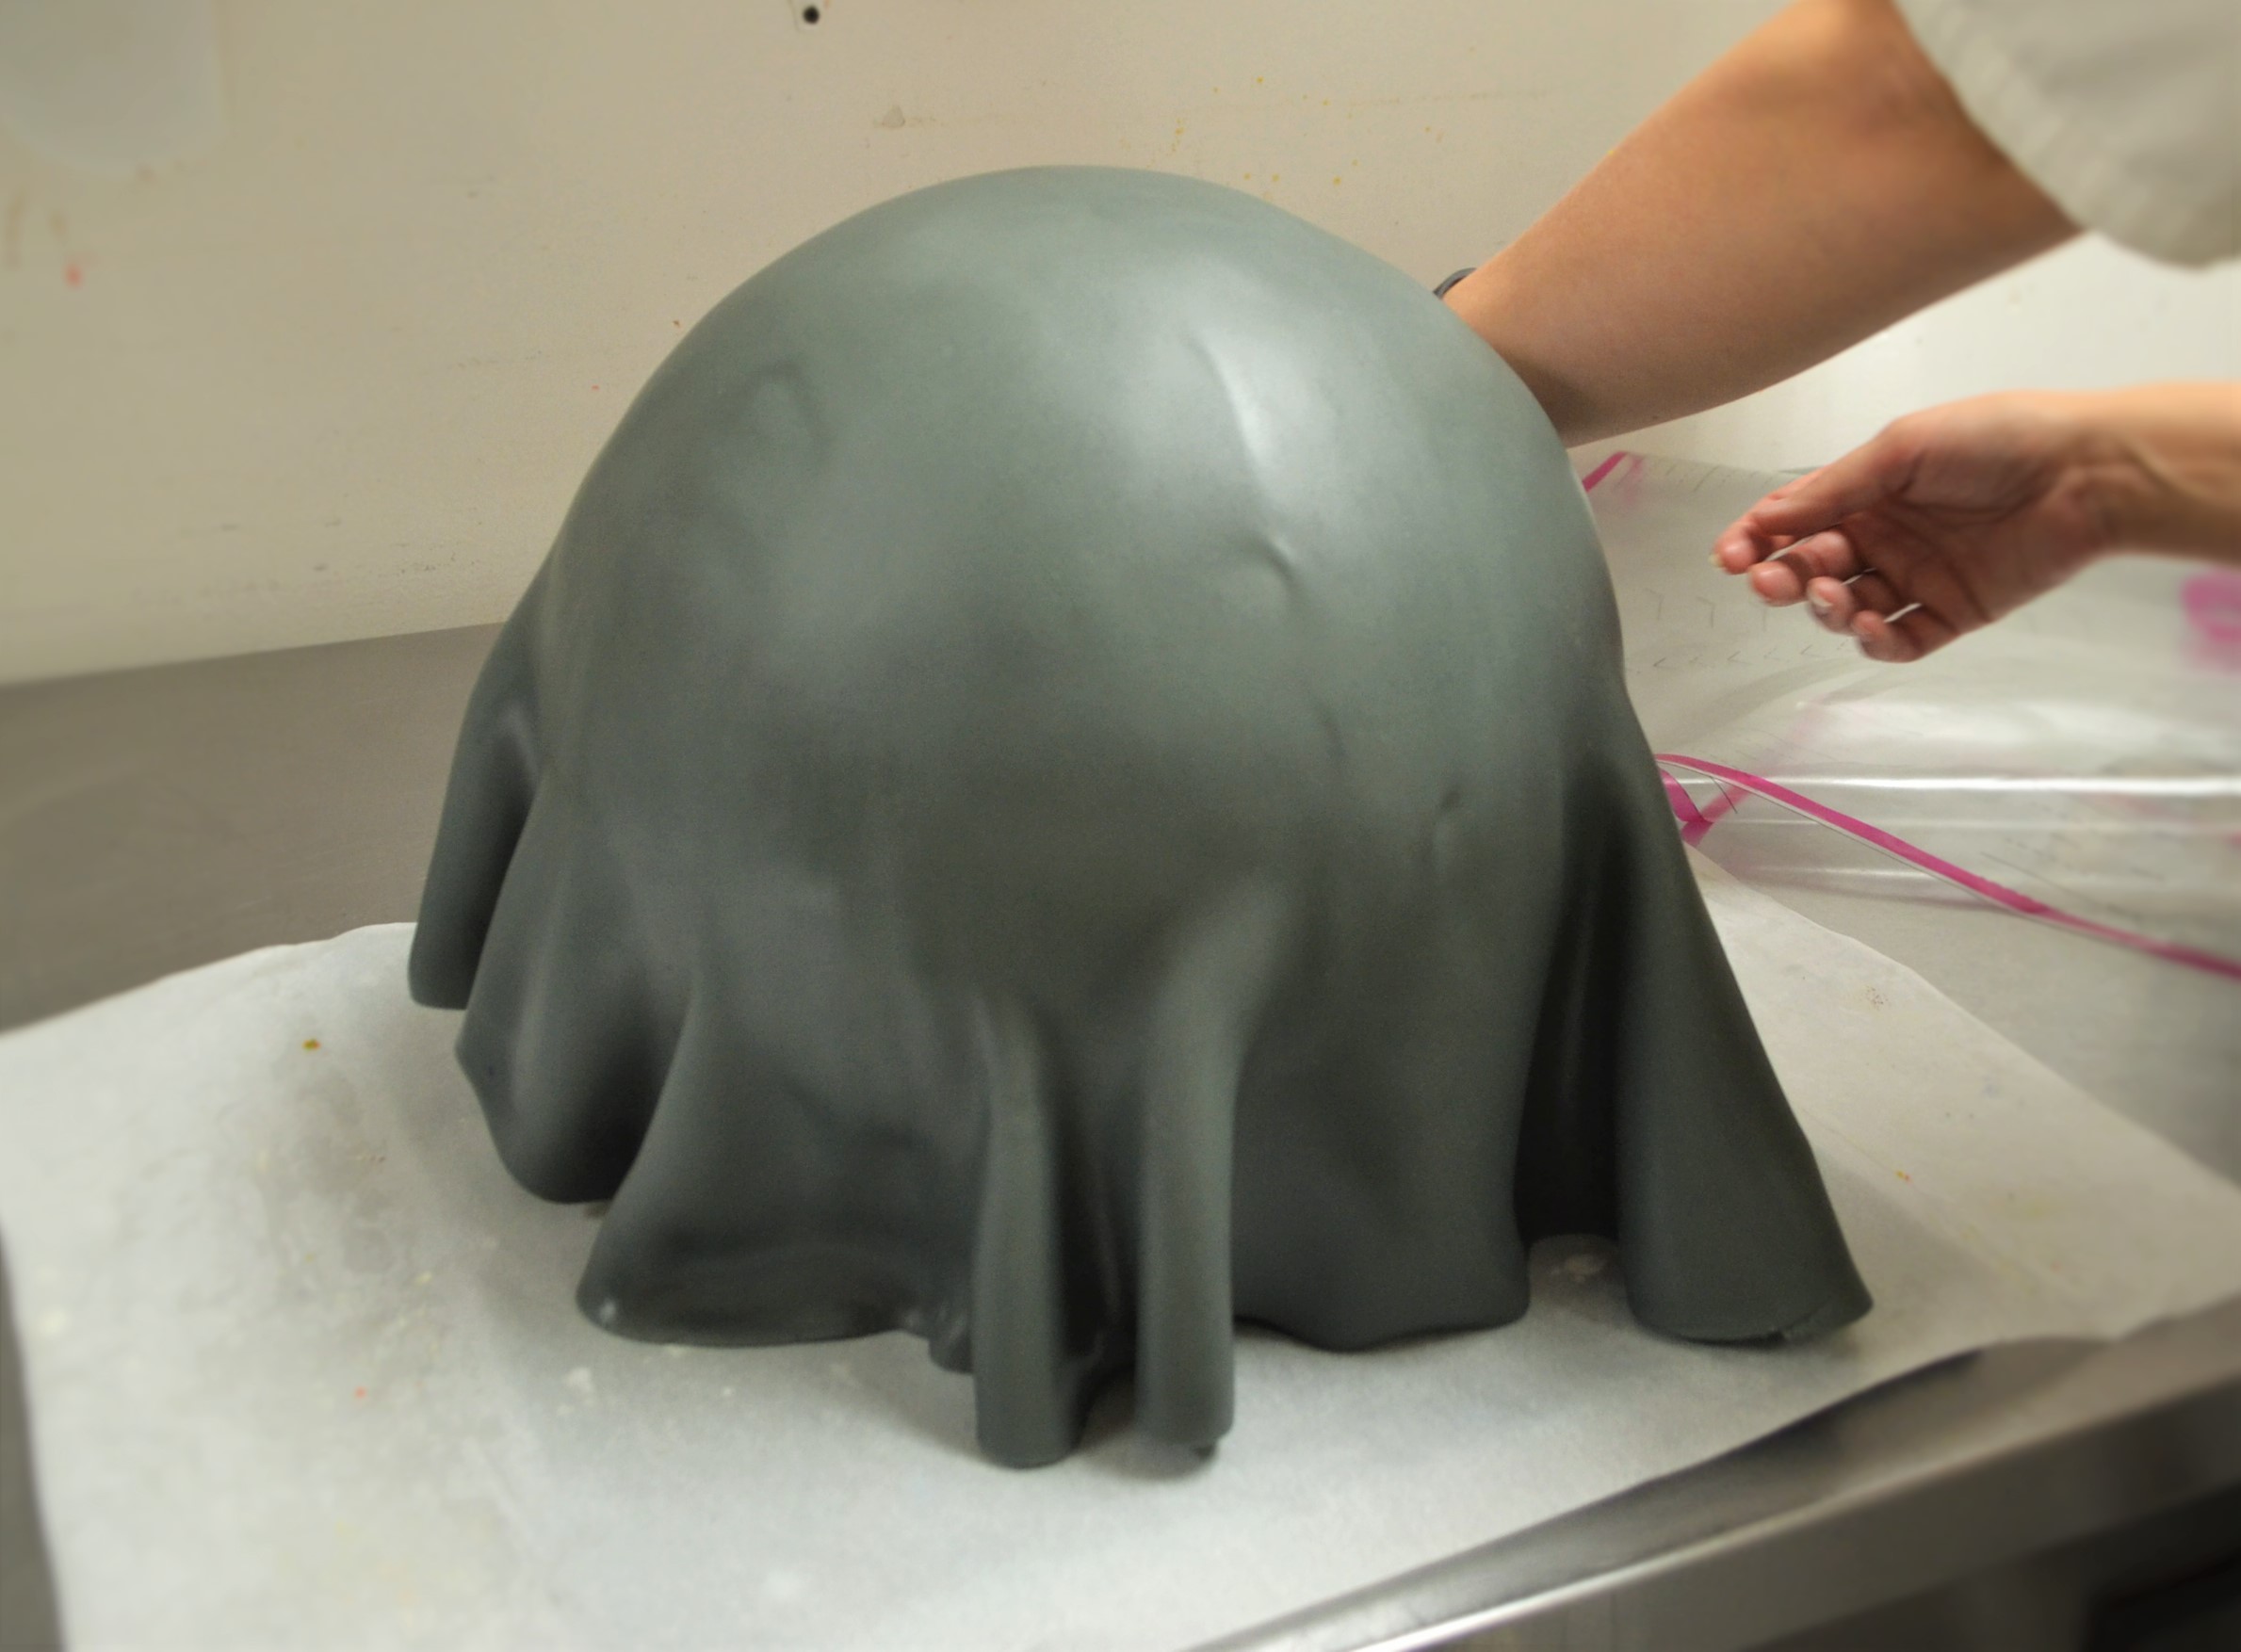
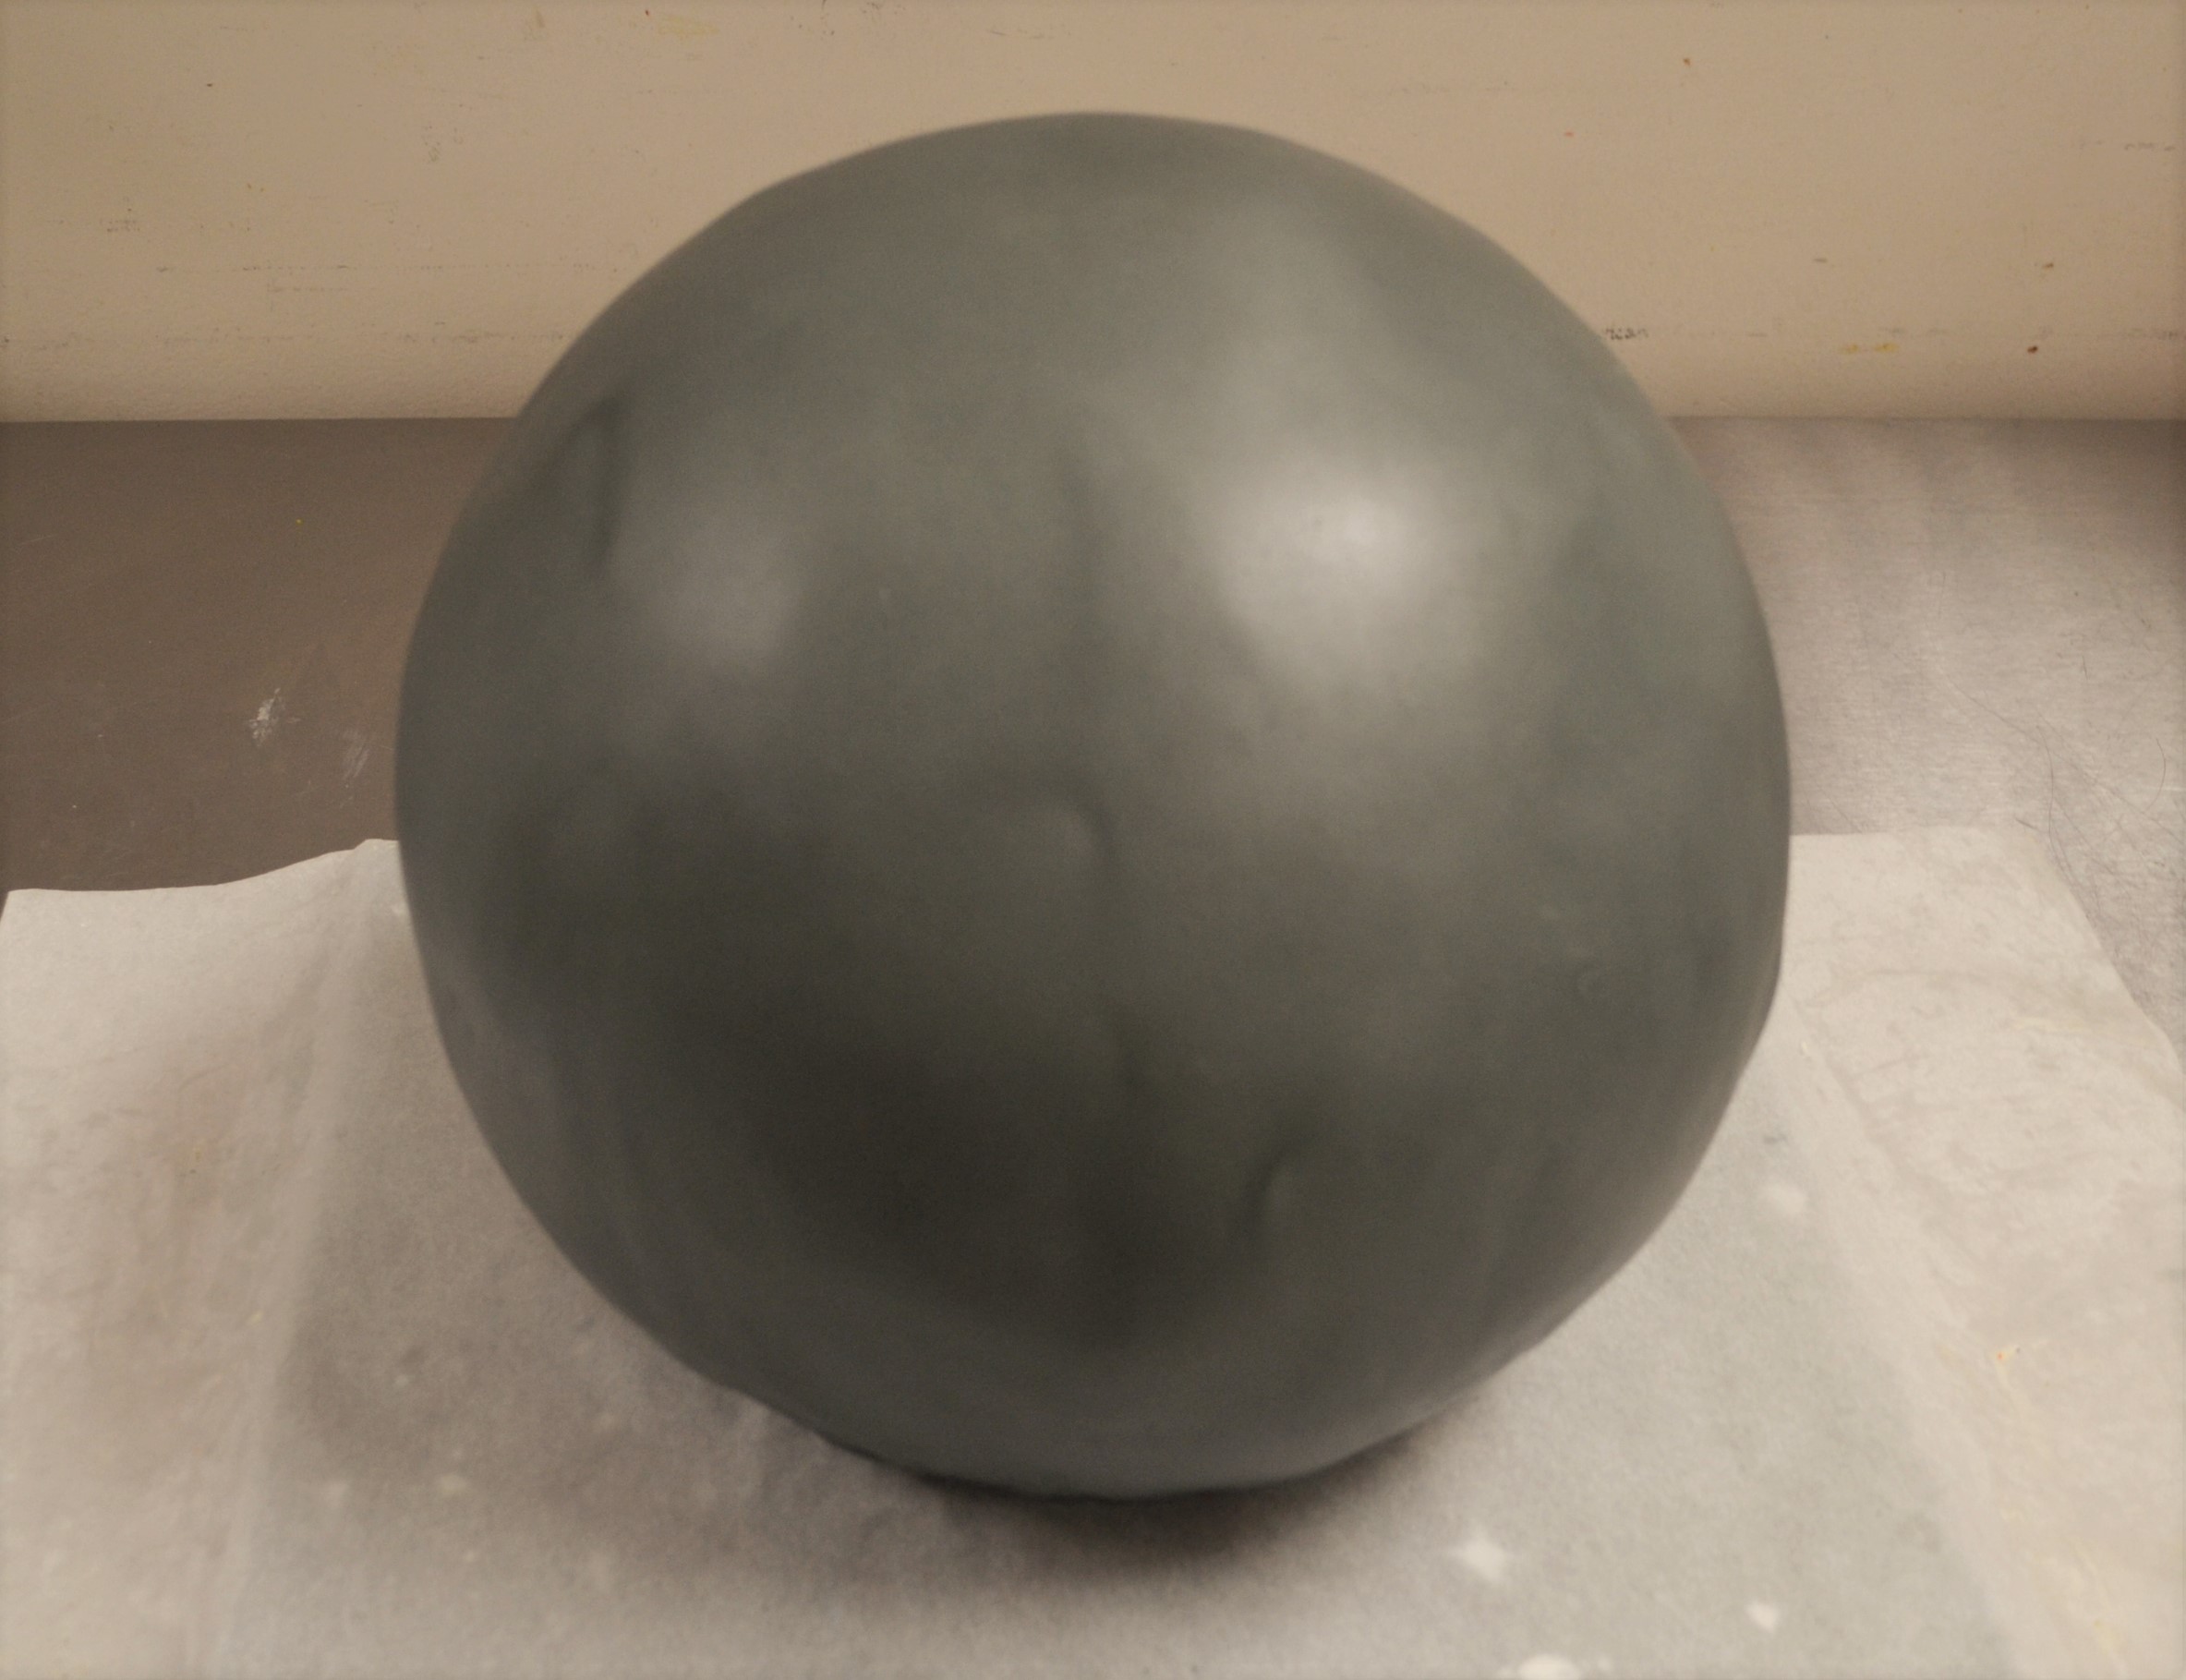
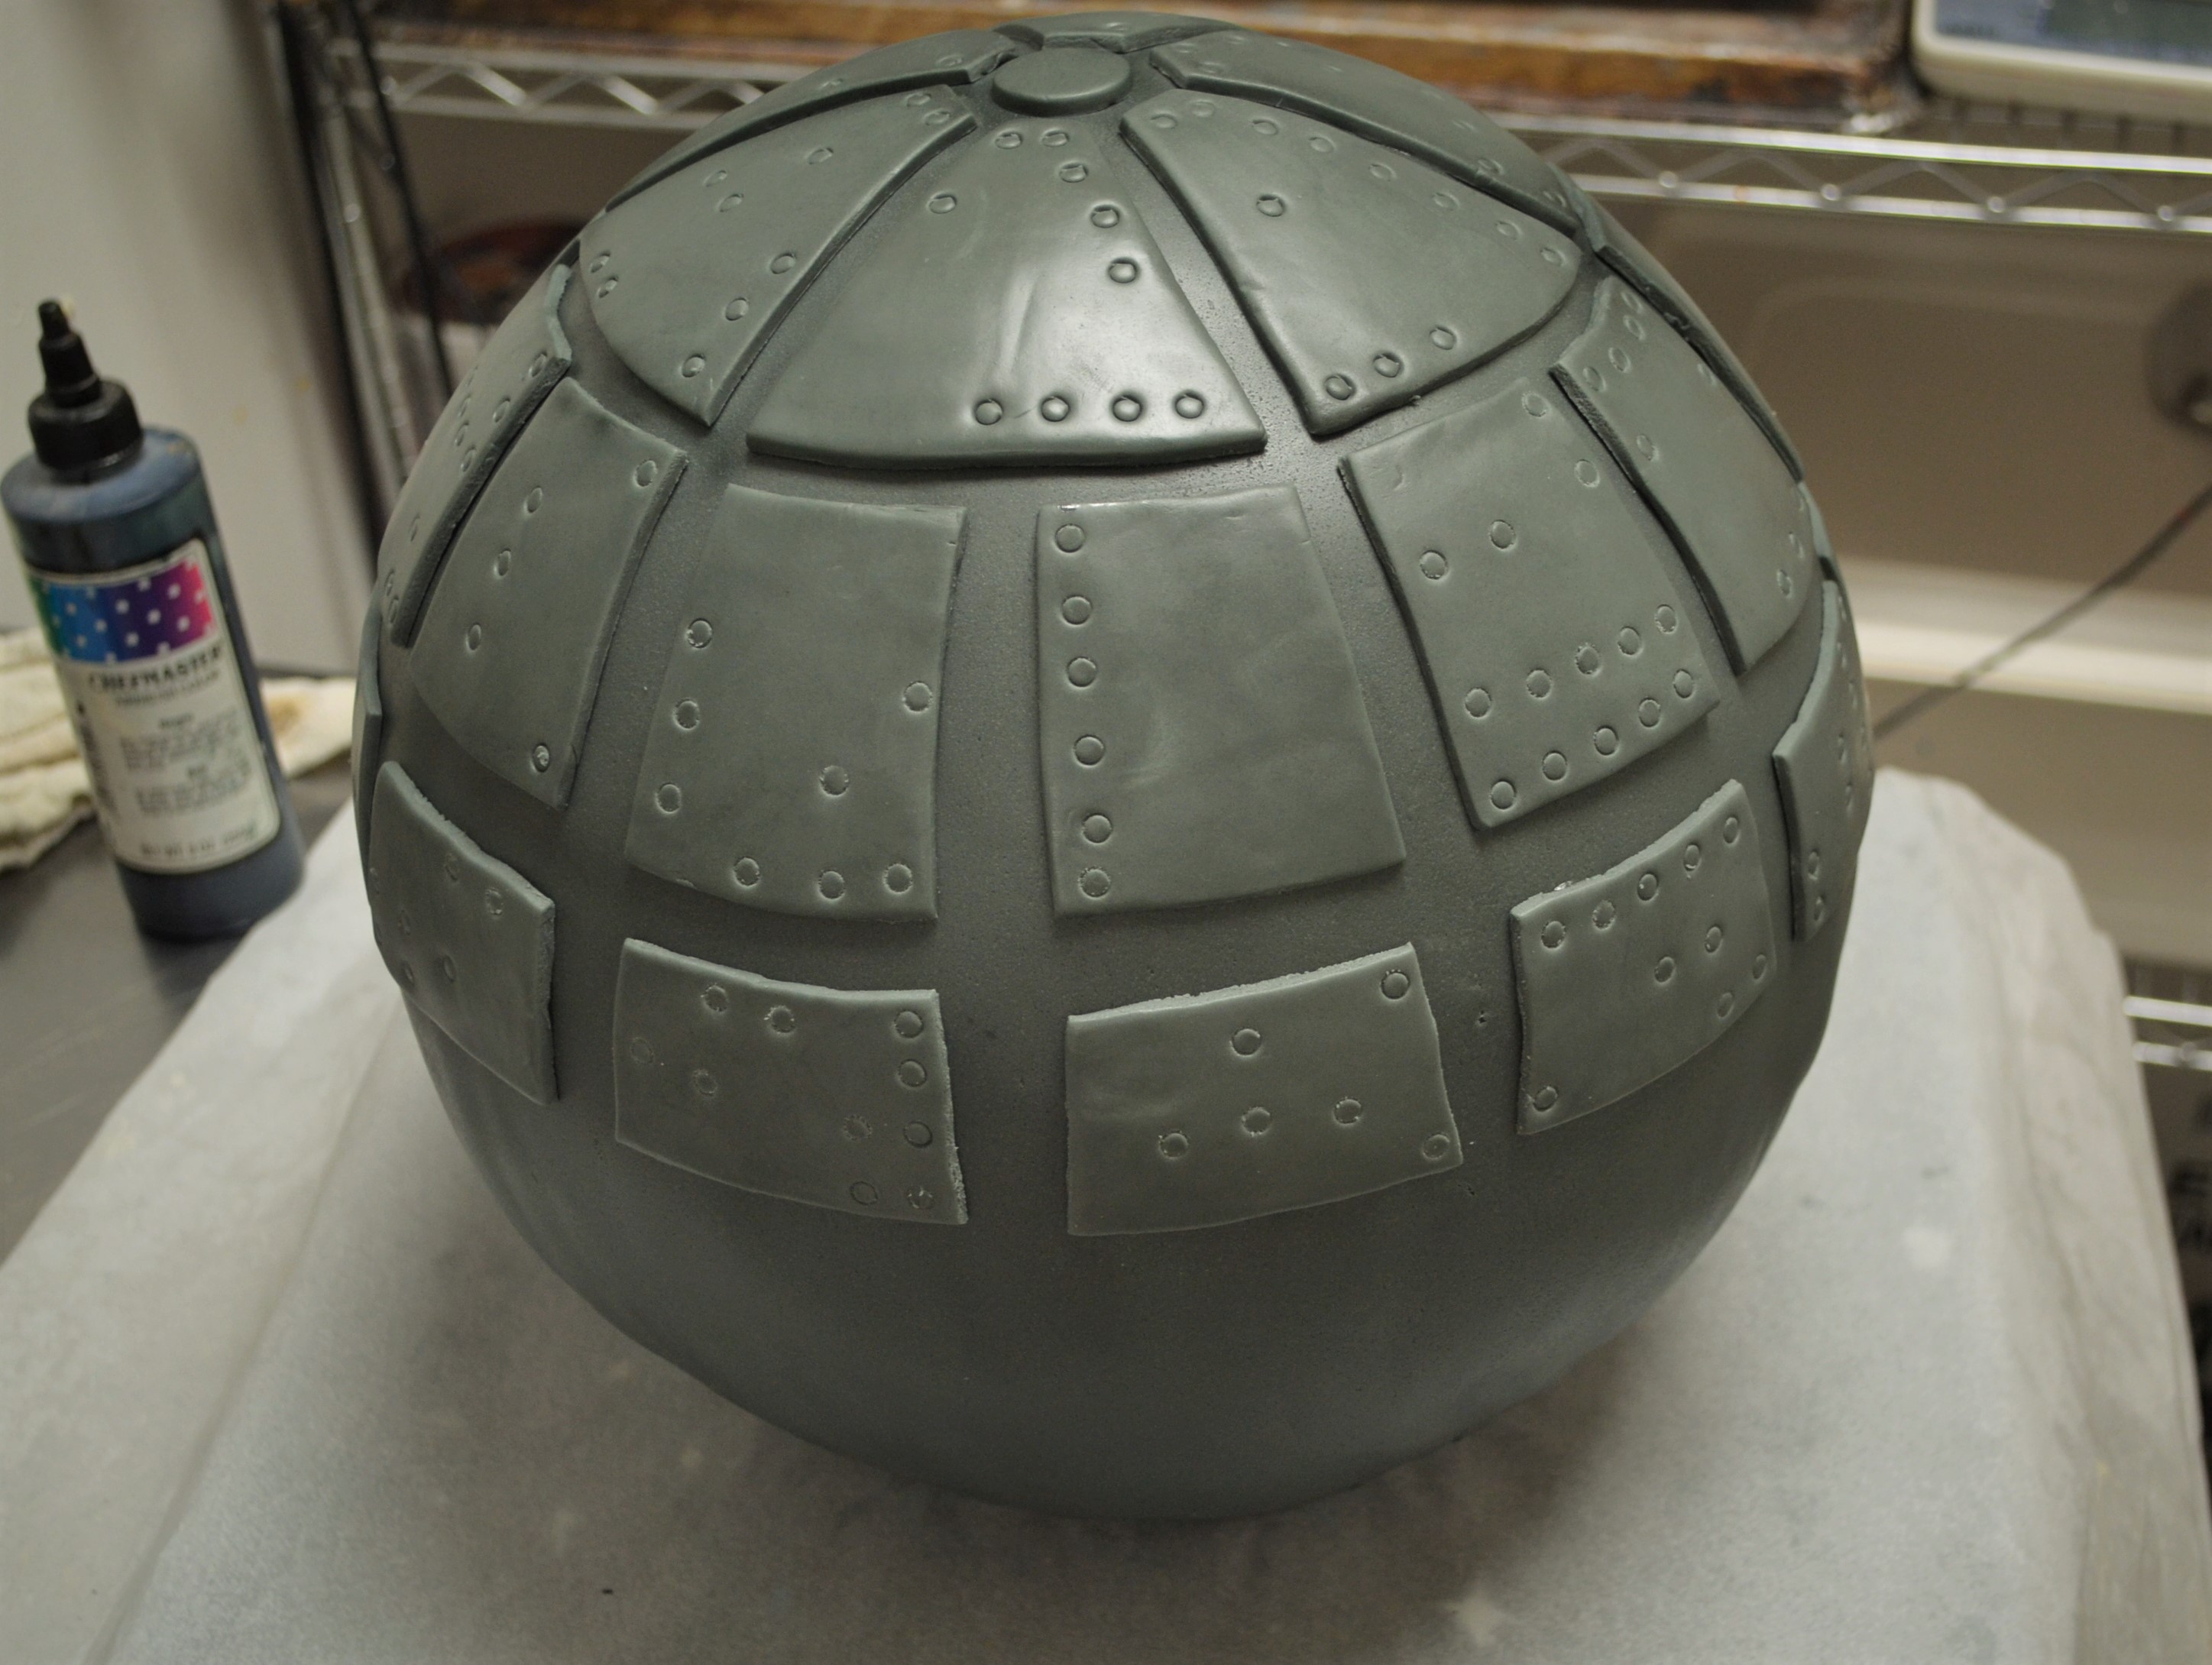
Next up: Fondant! We covered the entire cake in our white chocolate fondant, then cut out shapes to give the cake a modular exterior look. We used a knife to impress 2 middle lines all the way around the cake. We then added circular impressions to add some texture, and filled the majority of the circles with sugar dots to resemble lights, or connected them with lines to give a mechanical look. We cut out a place for the circle & placed it on the cake. We did some airbrushing to add more depth and dimension. We free-hand cut the inscription and the “10”. And, finally we removed the parchment covering from the base.
The birthday boy was thrilled with the final cake! Happy Birthday Alex!!!

 Follow
